General Info
Project type: Collaborative Client project
Project duration: 13 weeks
Client’s name: Rob Blofield
Client project’s name and type: “Tomebound”, action/adventure video game
Game presentation: single-player, dual-character, grid-based puzzle game
Game art style: Low Poly 3D, stylized, fantasy, top-down dungeon
Game engine and coding language: Unity 3D, C#
Game brief: The boss fight is done, and the credits have rolled. At the end of an arduous campaign to acquire the greatest magical tome ever made, two wizards retrieve an enchanted book from the top floor of the tallest tower, only to find it instantly curses them... One adventurer can only move forwards and backwards and the other from side to side. This is going to be a long walk back to the inn
Major game objective: “Tomebound’s” vertical slice creation for PC
Personal task: Creation of Artificer Wizard design, character modelling and animation
Introduction
The idea of the Collaborative Client Project was to introduce students to work on real client projects and help them understand the principles and problems of their chosen area of specialism. Therefore, students were offered a range of client projects to choose from. At first, there were only six projects, but later their amount almost doubled reaching eleven. They covered all pathways offering different experiences from redesigning the Downtimebros website to creating 3D models of museum assets for Holographic display or VR headset display. However, as I chose to take a game designer path, my attention was mostly focused on those projects that offered some 3D experience. And despite there were quite a few projects in which I could apply and develop my 3D skills, only one project was directly linked to my specific field of study.
“Tomebound” is an adventure video game that mixes elements of dungeon crawlers and Sokoban-style puzzles in an interactive, adaptable setting allow for intriguing puzzles that can be solved in many ways, so it immediately drew my attention for multiple reasons. First, I found the concept quite interesting and entertaining. Second, I have already had the experience of working on a game and even though it was a completely different genre and style I already had an idea of how the work might be organised and which skills I can offer. But the main reason was an opportunity to develop a design for one of the main characters that I got immediately interested in.
“Tomebound” is a single-player game, but it has three main characters, two of which the player can control. They are the Druid Wizard, the Artificer Wizard and the Book with a curse that bound Wizards together. However, the curse impacts only the way how Wizards can move, so they can apply their magical skills to overcome challenges. For instance, the Druid Wizard can create portals to other floor levels and the Artificer Wizard can create drones for moving objects to deal with lava obstacles or fight enemies.
During the brief, the Wizards’ appearance and their skills were visualized by AI-generated art to give a general understanding of what direction the design can be developed along. I got interested in the Artificer Wizard character straight away as I found those arts quite inspiring. Once I got permission to work on the Artificer Wizard design, I made my final choice to join the “Tomebound” project.
Character Design Concept Development
After I chose the project to work on, I made some sketches to offer a couple of alternative basic designs for the character.
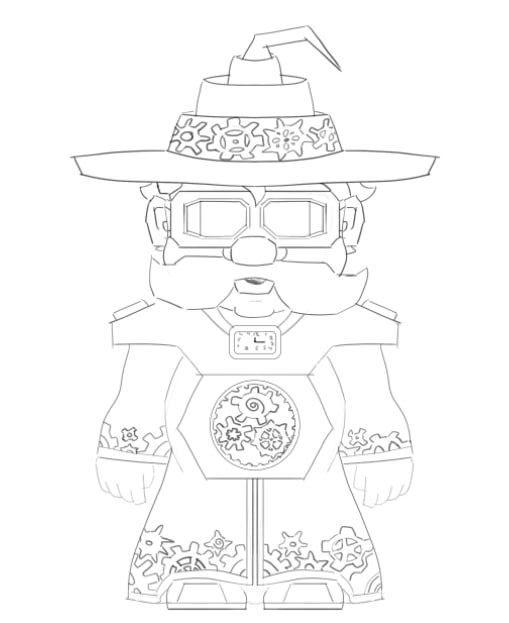
Wizard sketch 1
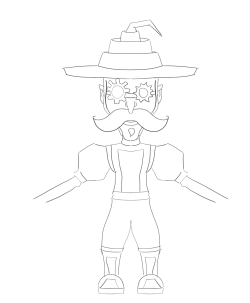
Wizard sketch 2
However, none of them worked because I did not know the character preferences of the client. Later I was told what elements I should focus on. Additionally, I was recommended to work in cooperation with the other designer who was working at Druid Wizard so that the main characters would look in a similar style. Therefore, we have set up a communication method and started developing our designs. I was advised to use AI for generating art, so I created nearly 60 good character images and set up a Miro board to have an easy way of analysing the images and updating the client and my college on the progress.
To simplify the analysis of each picture, I created different categories according to the major desired elements (among which were face, goggles, hat, shoulder armour, gloves, cloak, trinkets, boots, proportions, and top view examples), and started sorting the images out. Additionally, I used notes for brief explanations of the elements I liked or disliked and assigned them different colours for easier visual perception.
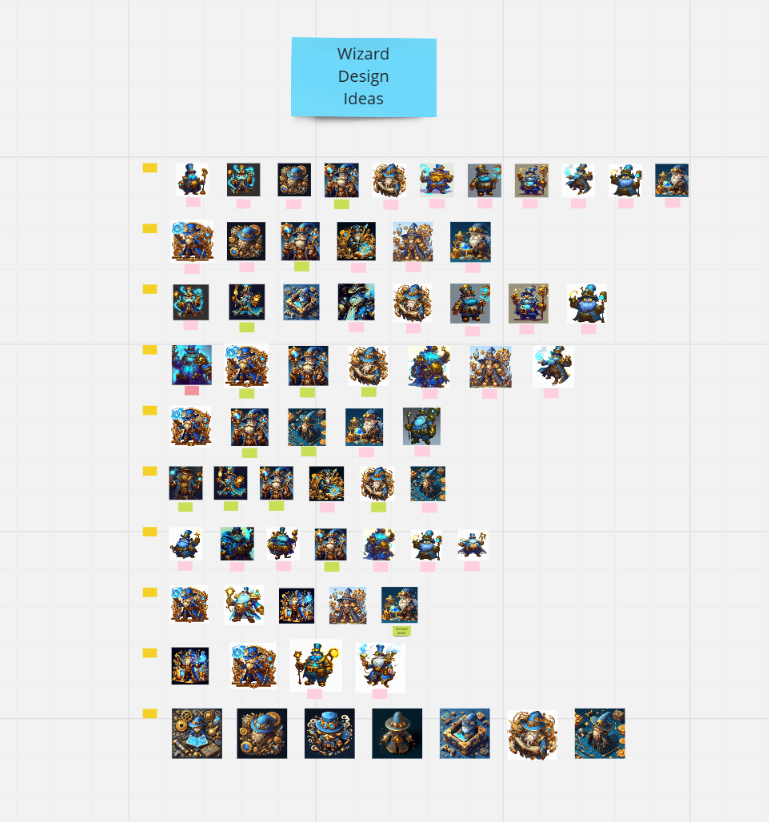
Miro Board
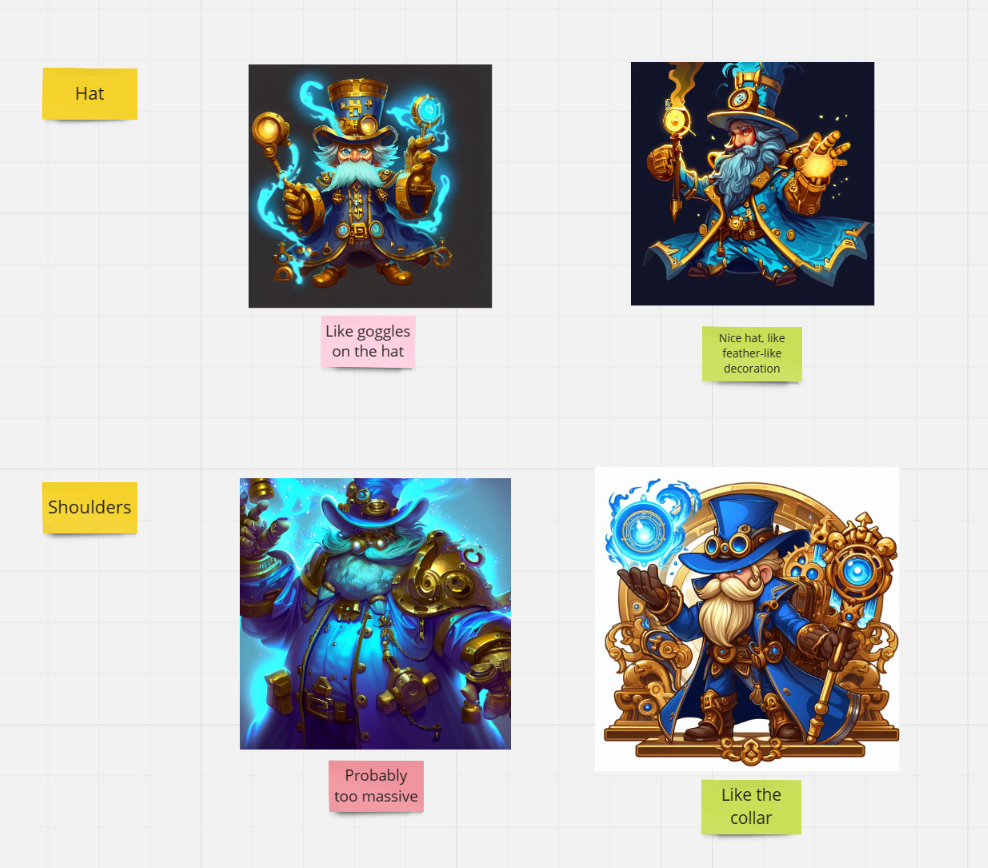
Categories example
Once I finished sorting out the best pictures, I had to choose the best for each category or overall to present them to the client. Also, I created a list with a brief description of the key elements and their alternatives for further discussion and the final design concept creation.
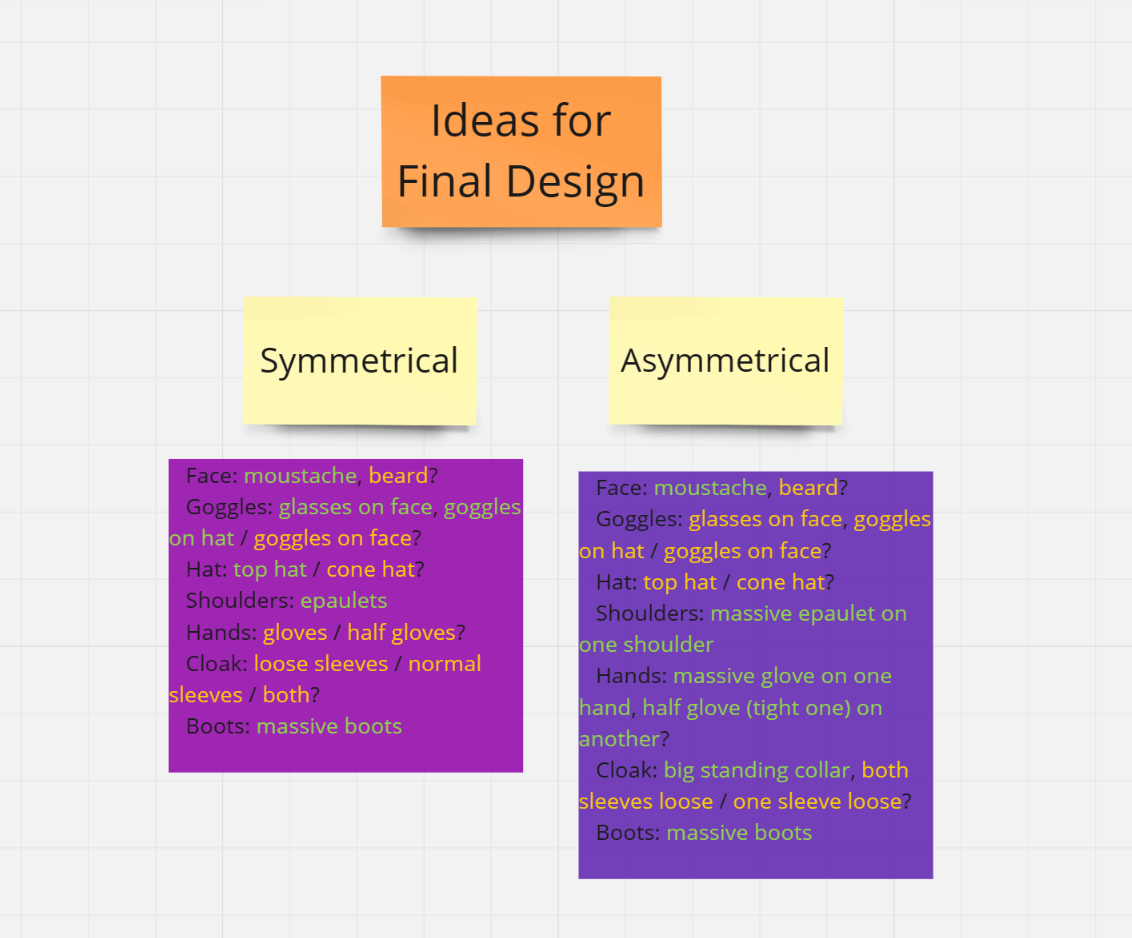
Key elements decisions
The following conversation with the client cleared all the design aspects that I was doubting about and helped me to make final choices between alternative options. With the permission of the client, I decided not to spend time on the creation of the overall image of the final Artificer Wizard design in Photoshop and focused on character 3D model development, starting with proportion creation in Blender.
However, as was discovered in about a month's time, some significant changes had to be made to the character's final design as the client reconsidered the game concept and decided to replace human-like Wizard characters with lizards. They retained their skills and abilities, however, due to the new Wizards’ appearance and slightly different body proportions, some design choices had to be altered. For instance, I gave up the idea of the character having a beard and moustache, as well as a hat and gloves. Additionally, I had to come up with a new design for shoes and change the design of trousers. For some time it slowed the workflow down a bit, however, I really liked the changes that were made and, as my 3D skills had significantly improved since the beginning of this project, I used my skills more effectively for the new character development carefully avoiding the mistakes that were done previously.
Wizard sketch 1
Wizard sketch 2
Miro Board
Categories example
Key elements decisions
Character 3D Model Creation
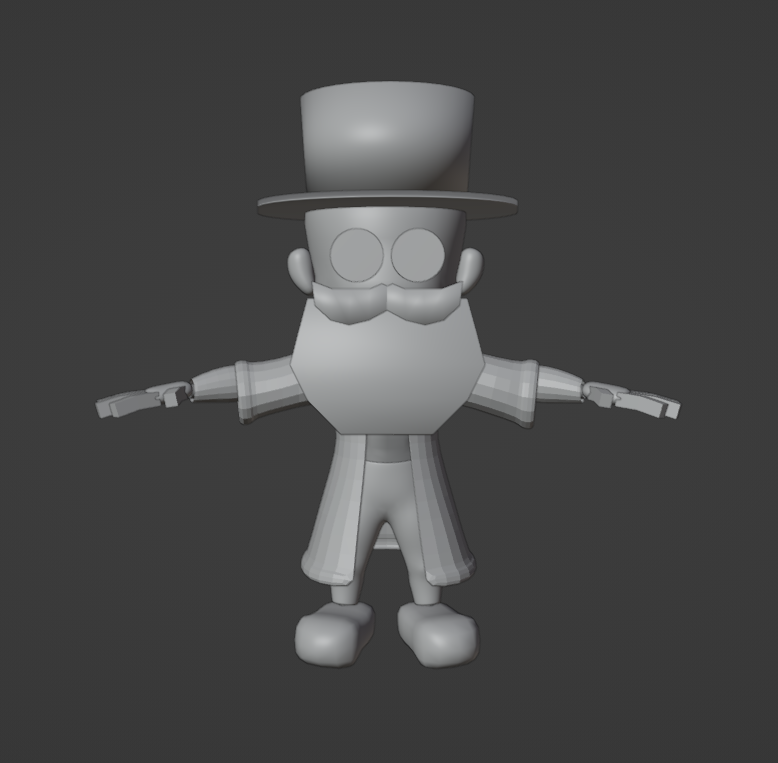
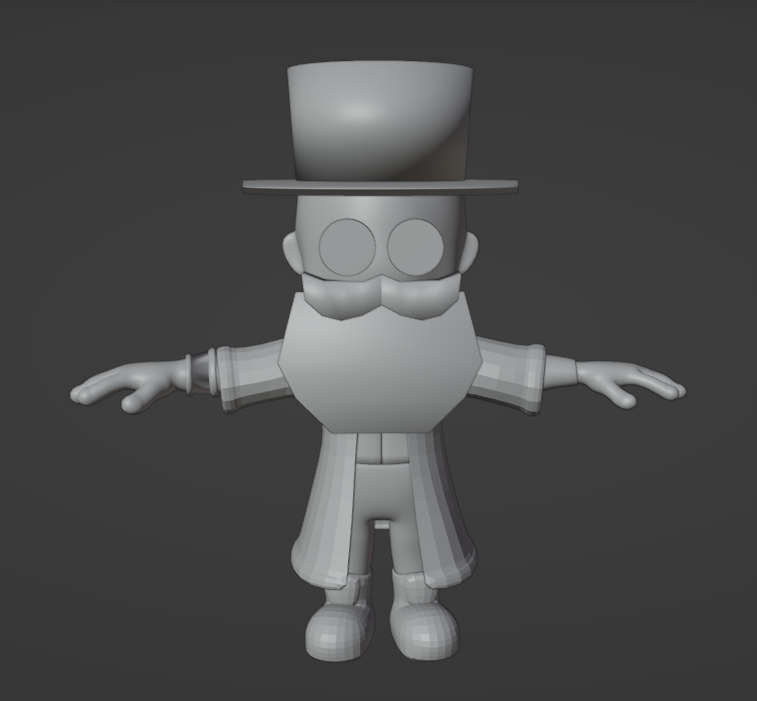
Once the original concept of the Artificer Wizard was finished and agreed upon, I moved to the next stage which included proportion development and general block-out of major elements. At first, the character's body was blocked out with basic Blender figures following the proportions from one of the AI-generated images. Also, I added blocks imitating a beard, moustache and hat as these elements could influence the overall proportions because the Wizard would be seen in the game only from specific angles, so it was important to make sure that the hat would not be too big to cover the entire face and the beard would not cover too large area of the body.
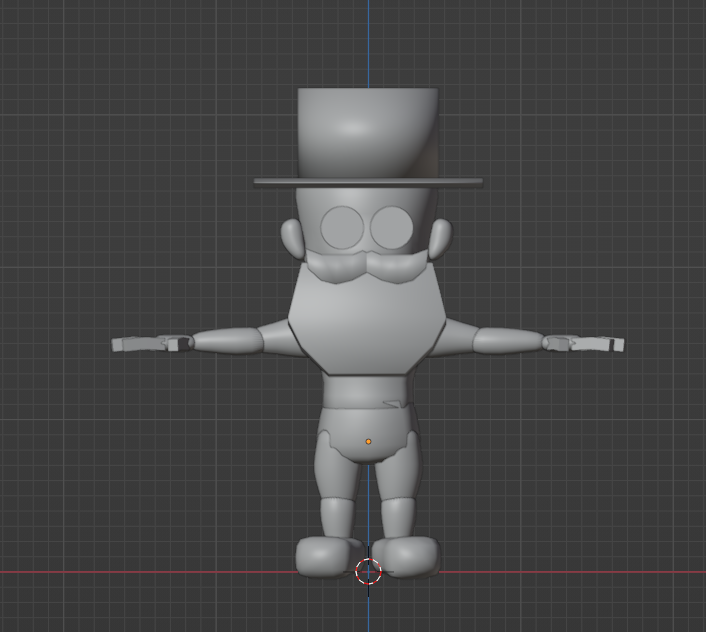
Proportions
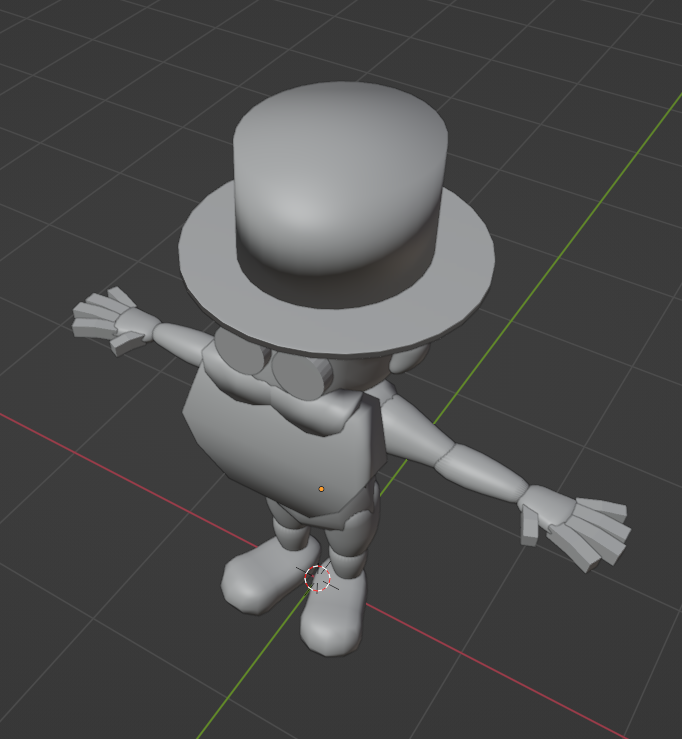
Top-view proportions
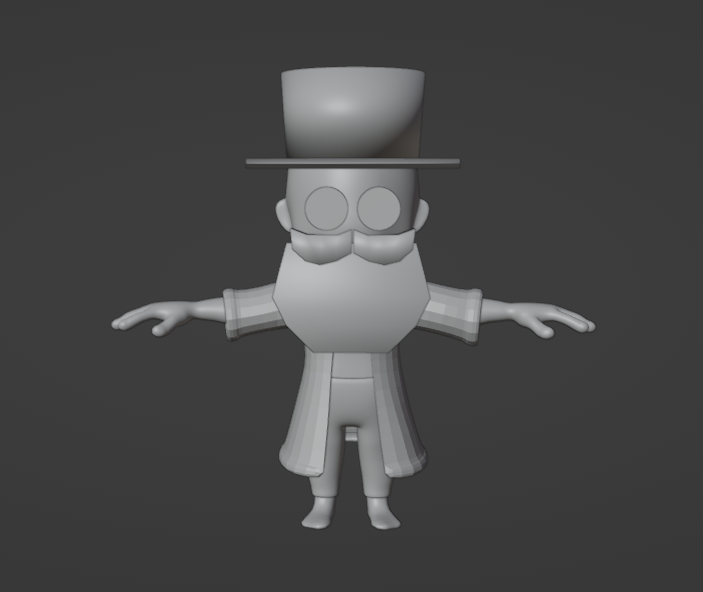
Later, when the proportions were corrected a couple of times and finally agreed, I had to fix the character’s posture, as I did not originally make the spine curve.
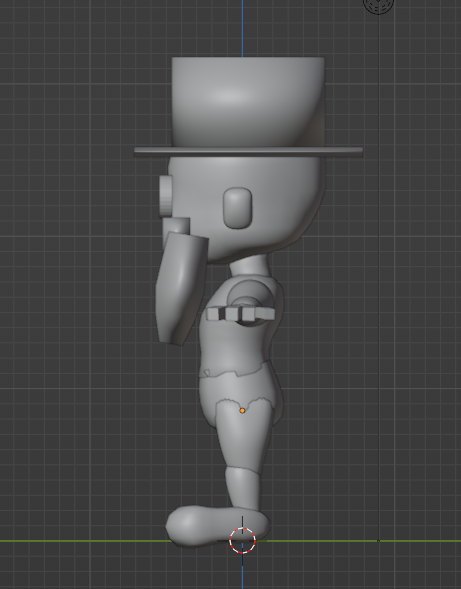
Edited posture
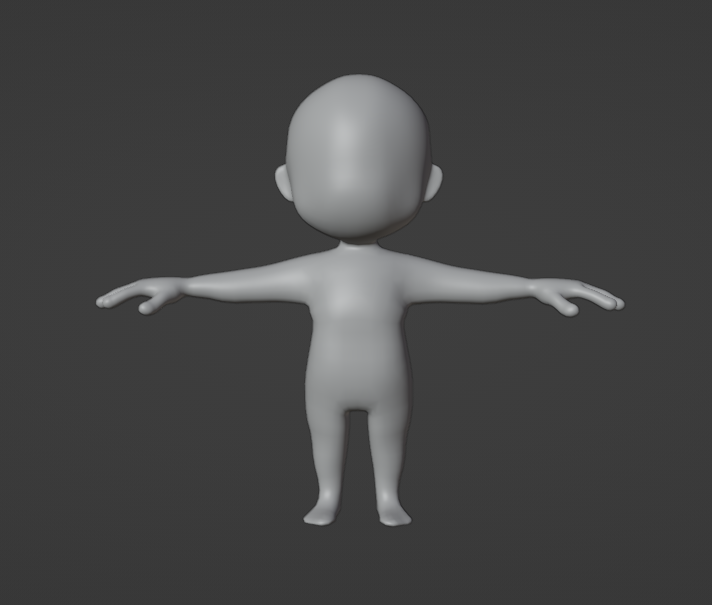
The next step was to add some basic muscle groups to the character's body to make clothes creation and its further adjustment easier. This could have been achieved through sculpting, however, I decided to take the alternative path. I have found a free male body mesh on Sketchfab, removed the head, hands and feet as they did not fit the style, and used a highly subdivided lattice to adjust the new body mesh to the needed proportion. It was quite a big challenge because my character was modelled in a T-pose while the Sketchfab mesh was modelled with hands down, so I had a couple of failed attempts before I succeeded.
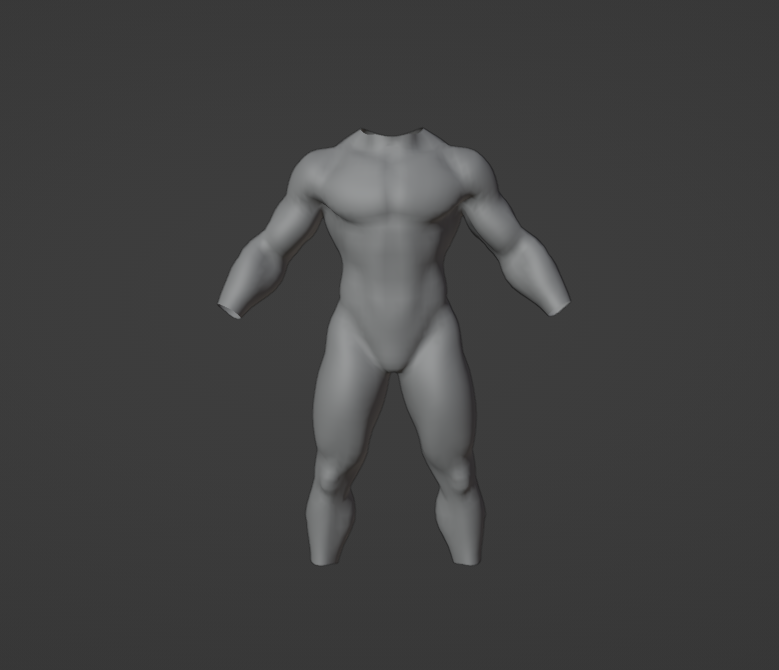
Male body mesh
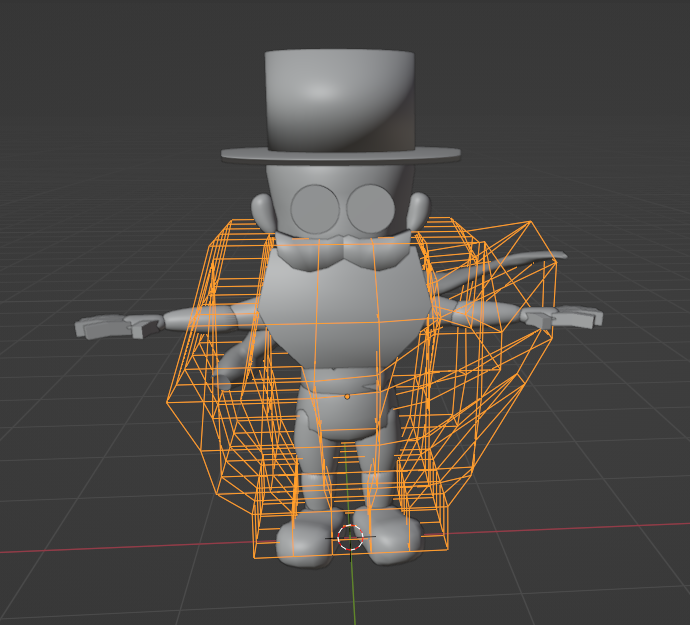
Failed attempt
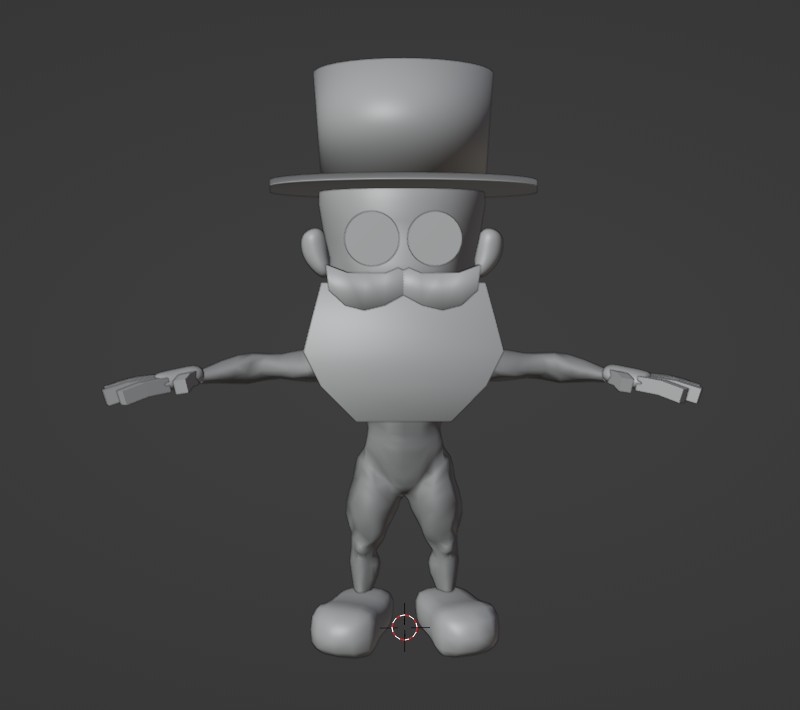
Successful body mesh adjustment
After that, I moved to the dressing-up stage starting with the basic cloak shape.
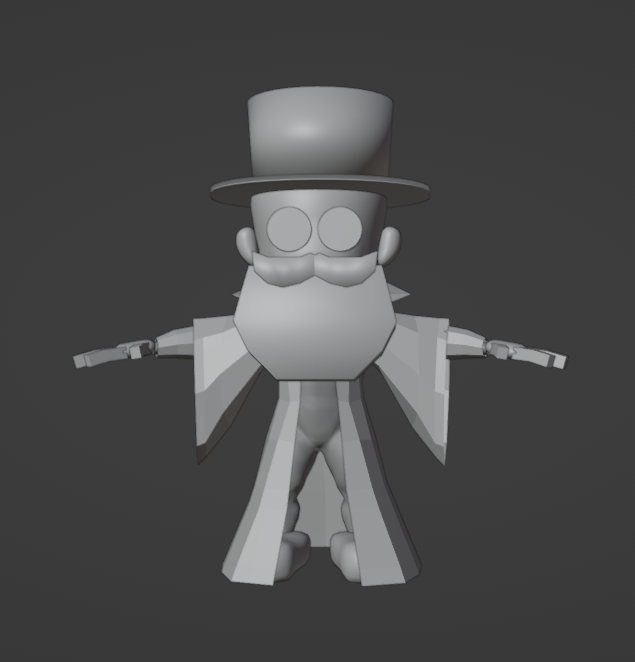
Basic cloak block-out
I edited it a couple of times and made slim trousers for the character after finishing.
Cloak and trousers
At that stage, I received a smooth character’s body mesh which replaced the old one, so I had to refine some of the clothes for a better fit.
New smooth body mesh
Clothes adjustment
Once it was done, I added a shirt, a vest, boots, and a glove.
More clothes
At that time, I was mainly trying to get the general shape of the objects and did not work on detailing much due to the pretty low speed of workflow because the lack of skills required lots of research and additional practice. However, later when the concept of the characters was changed to lizard Wizards, I changed my approach and started to make clothes items one by one trying to get them at least to the half-finished stage rather than get stuck on the block-out one.
First, I had to choose one of the offered lizard head meshes to define the new unique appearance of the character and then change the entire body mesh. As I found out later the already existing clothes did not fit the character again, so this time I decided not to waste time and set a task for myself to create the same clothes again but make it higher quality.
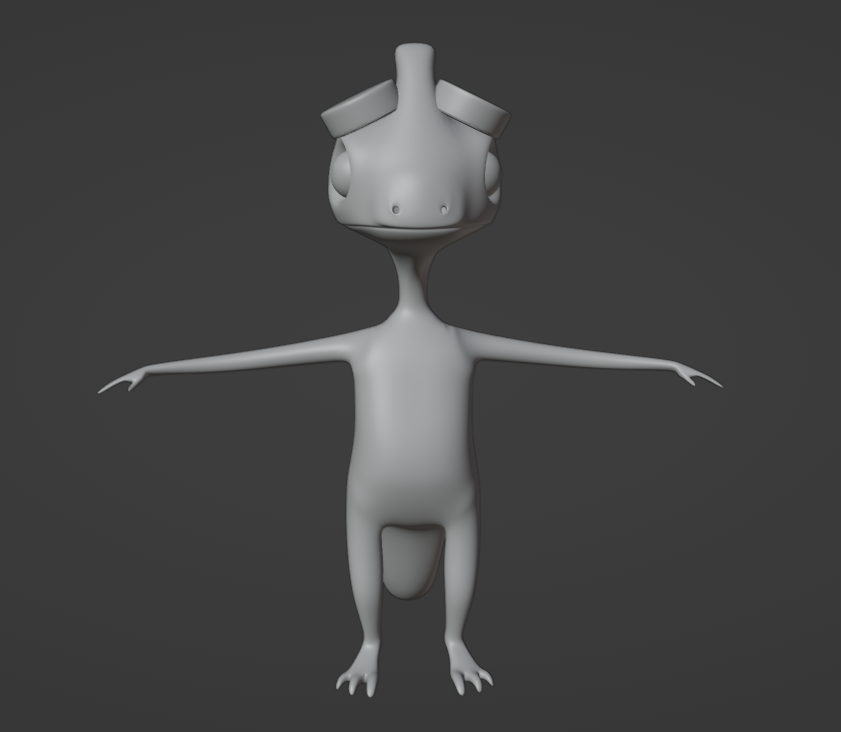
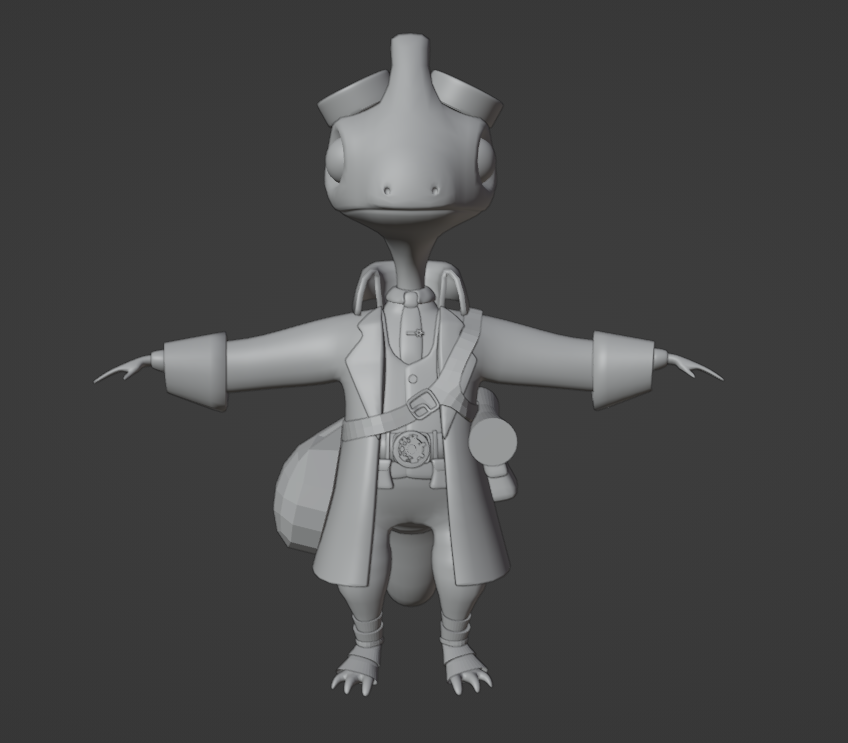
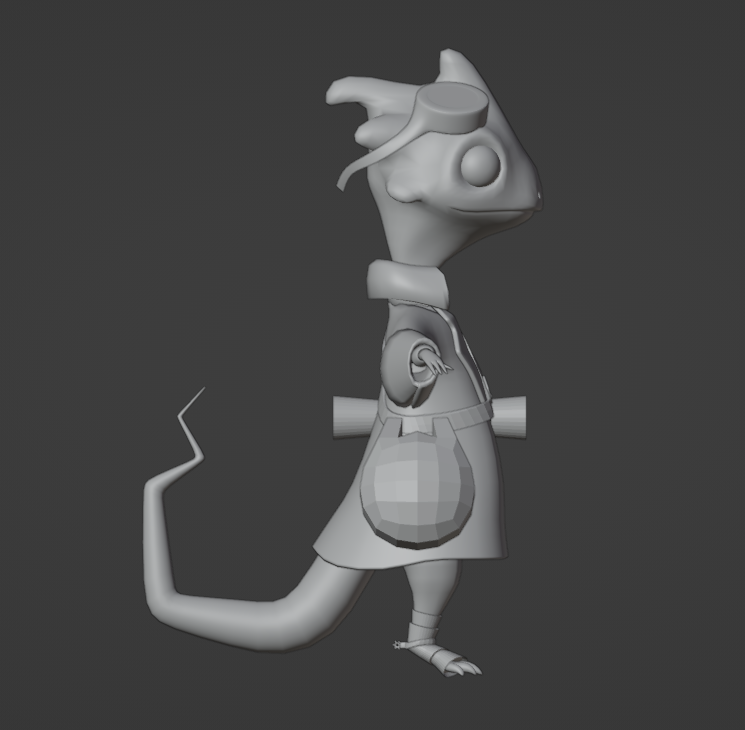
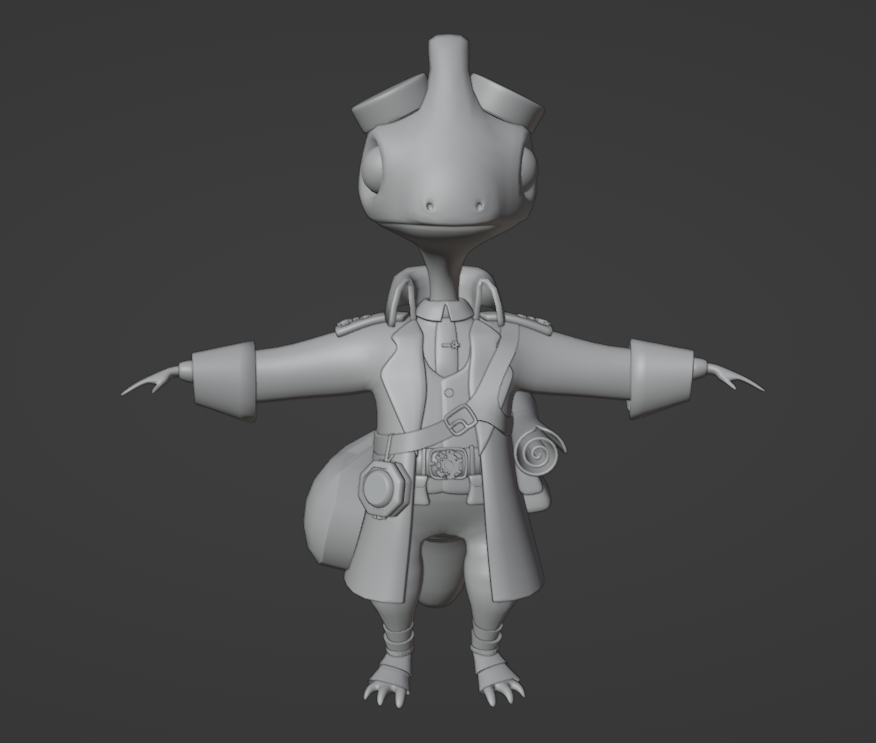
Lizard body front view
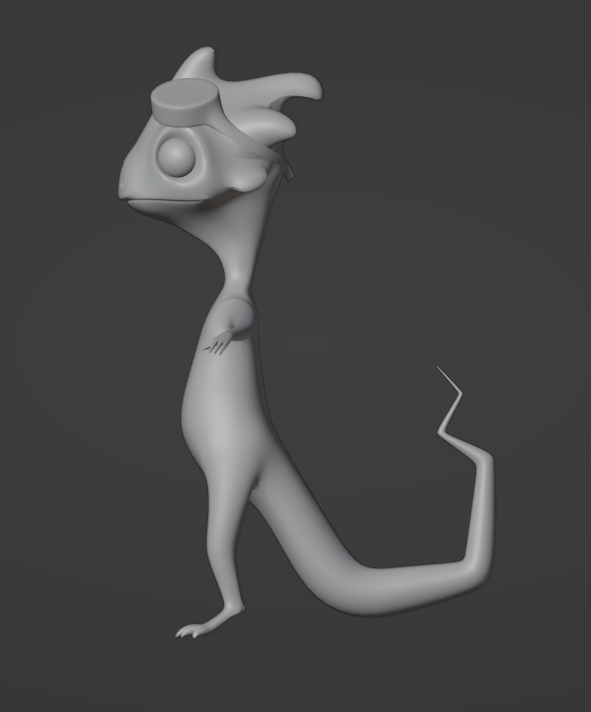
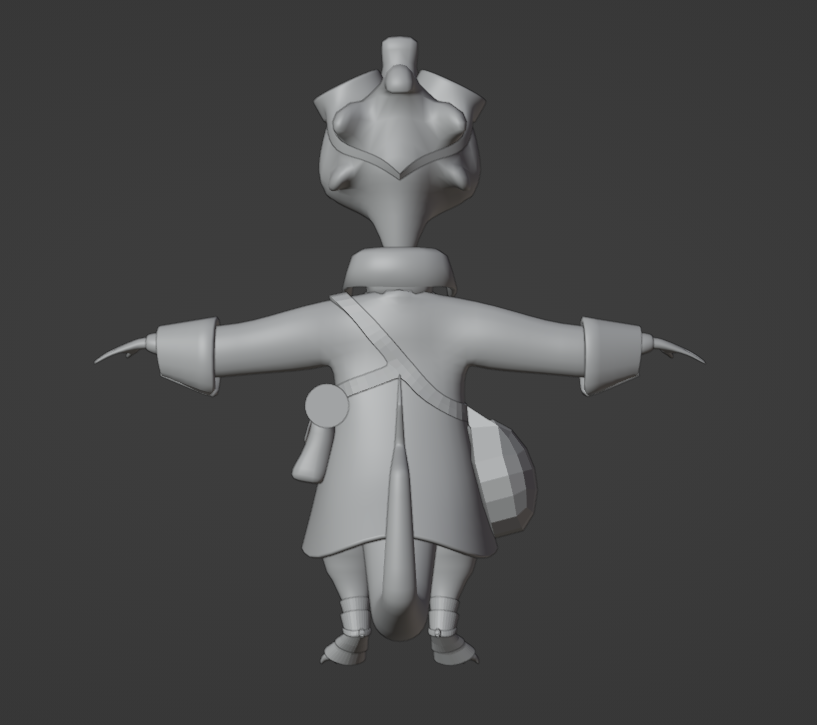
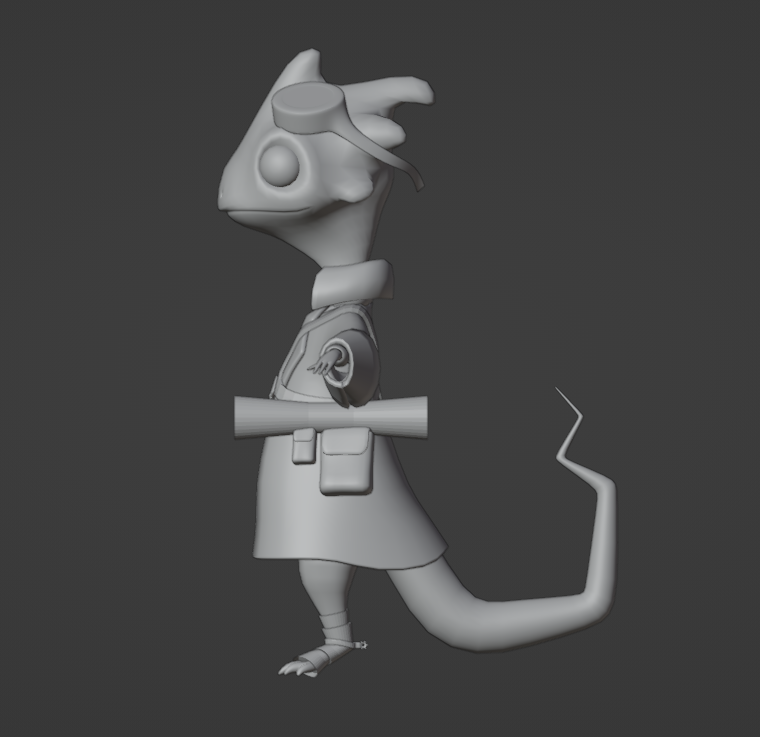
Lizard body side view
However, the cloak was almost a good fit, so I decided not to make it from scratch. After that I had to create new vest and trousers. To do this quicker, I have duplicated the body mesh in the needed areas and used it as a base for my clothes.
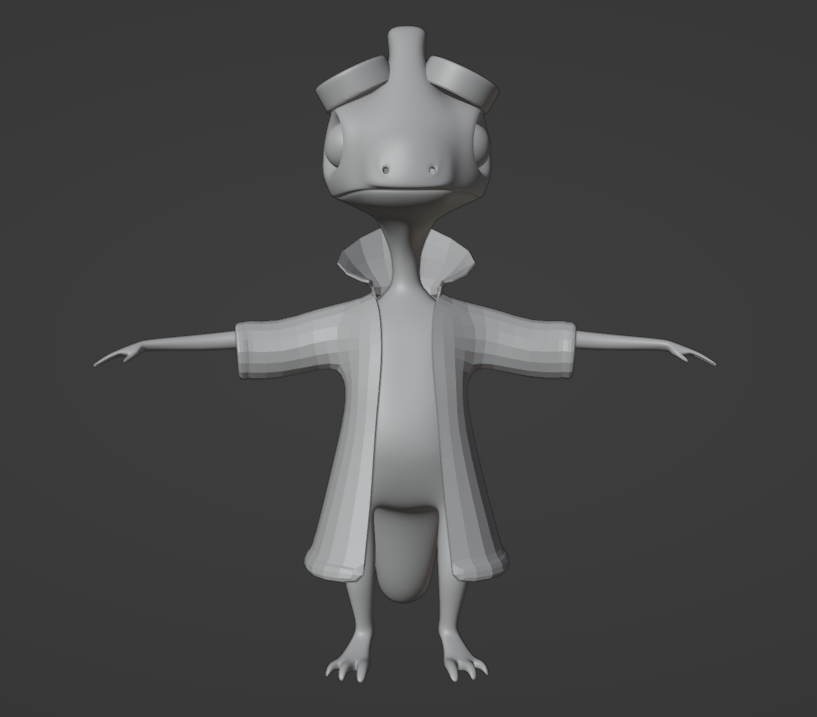
Lizard in the cloak
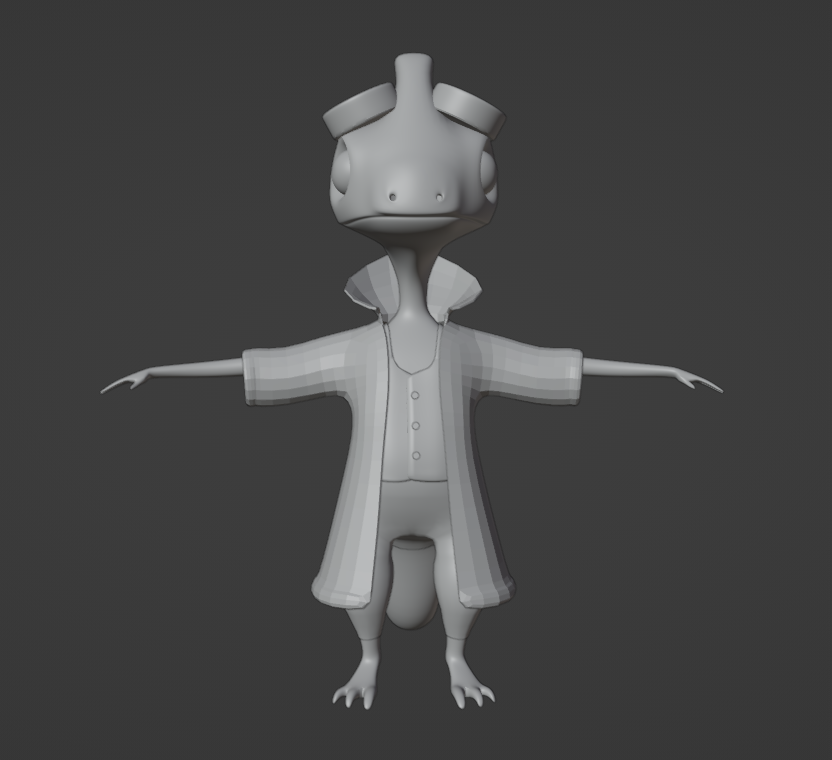
New trousers and a vest
As the lizard concept required some changes in the final design, the next step was to make up a new plan for the design aspect and discuss it with the client.
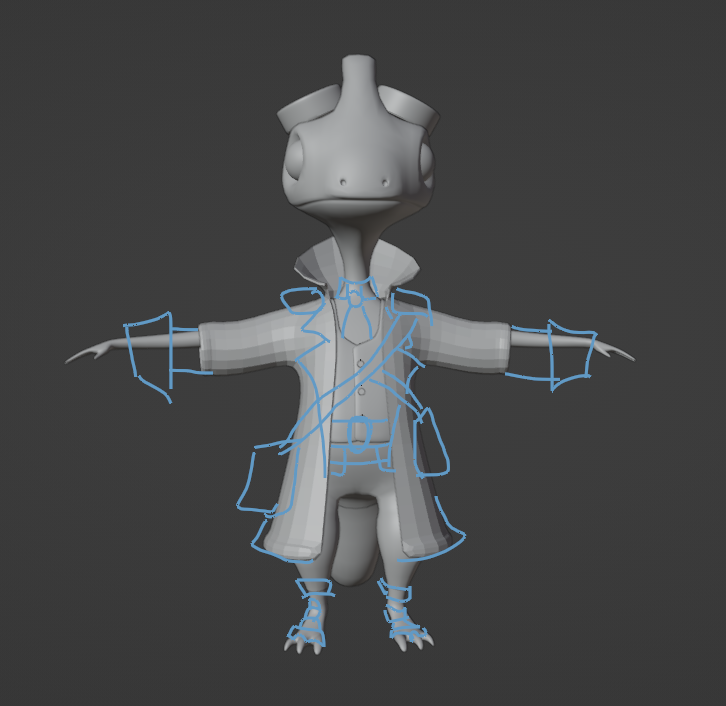
Changed design consept
After that, I prioritized the elements to plan out the sequence of element creation and started working according to the schedule. The first item on the list was a shirt which later was accompanied by a tie and a tie pin creation.
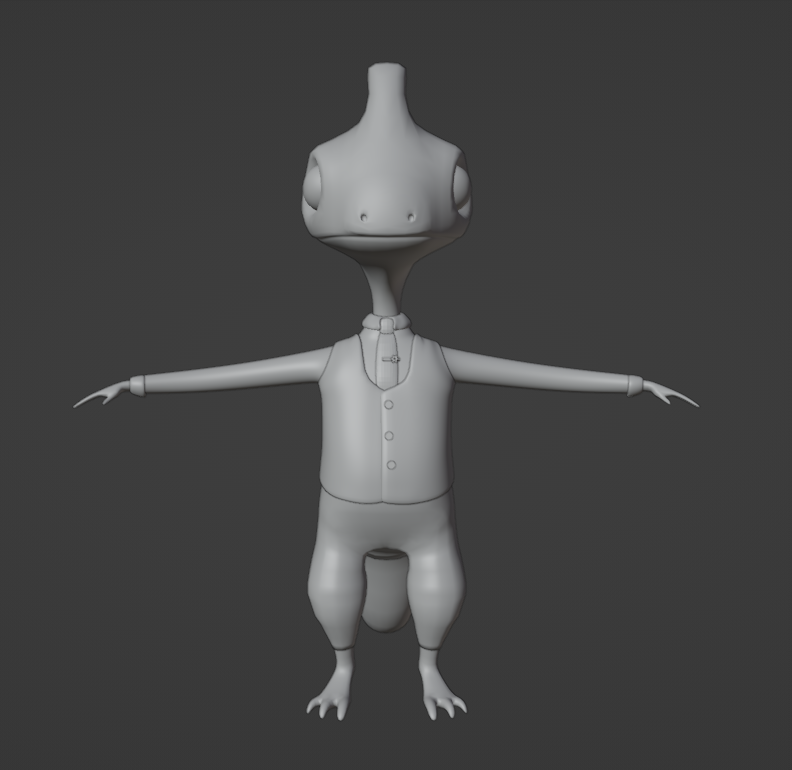
New shirt, tie and a tie pin

Tie and pin
Once it was finished, I created a belt, a basic buckle, and two small bags that were attached to the belt.
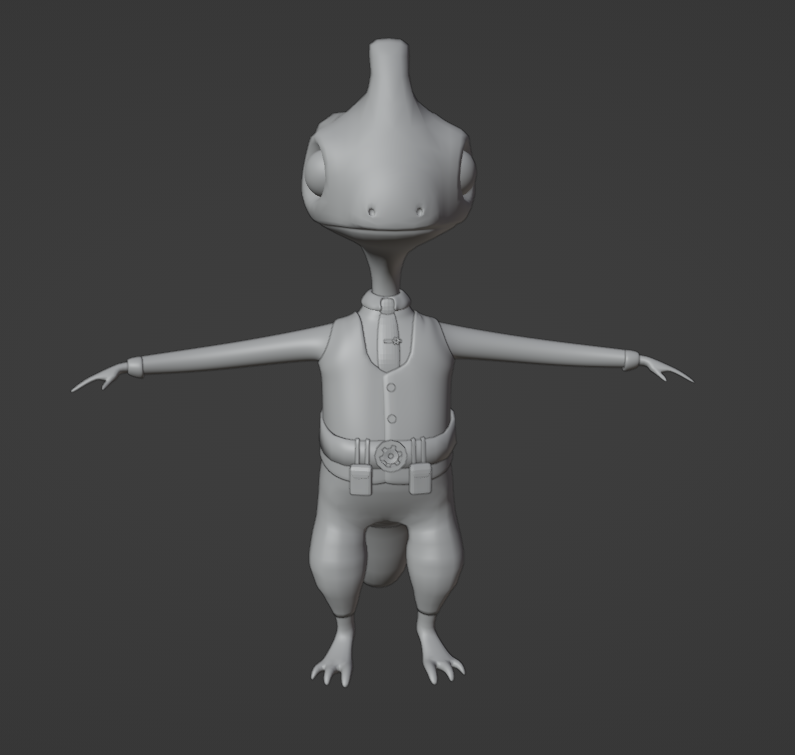
Overall look with new elements
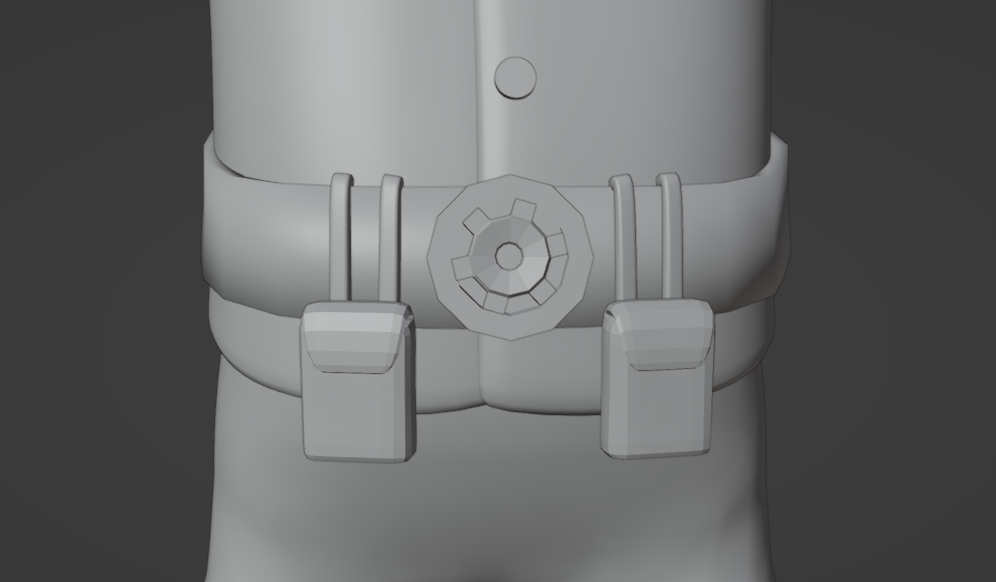
A belt, a buckle and bags
However, after feedback, I had to change the shape of the bags and think of a more interesting design for the buckle. To make the creative process easier, I decided to generate some AI images. I chose the best and snowed them to the client and after the new design was chosen, I went back to work on the model.

The new overall look
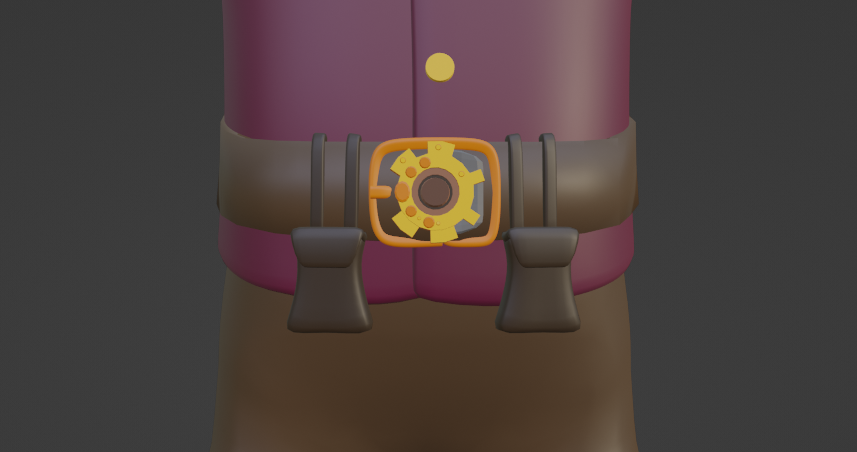
The edited belt, a buckle and bags
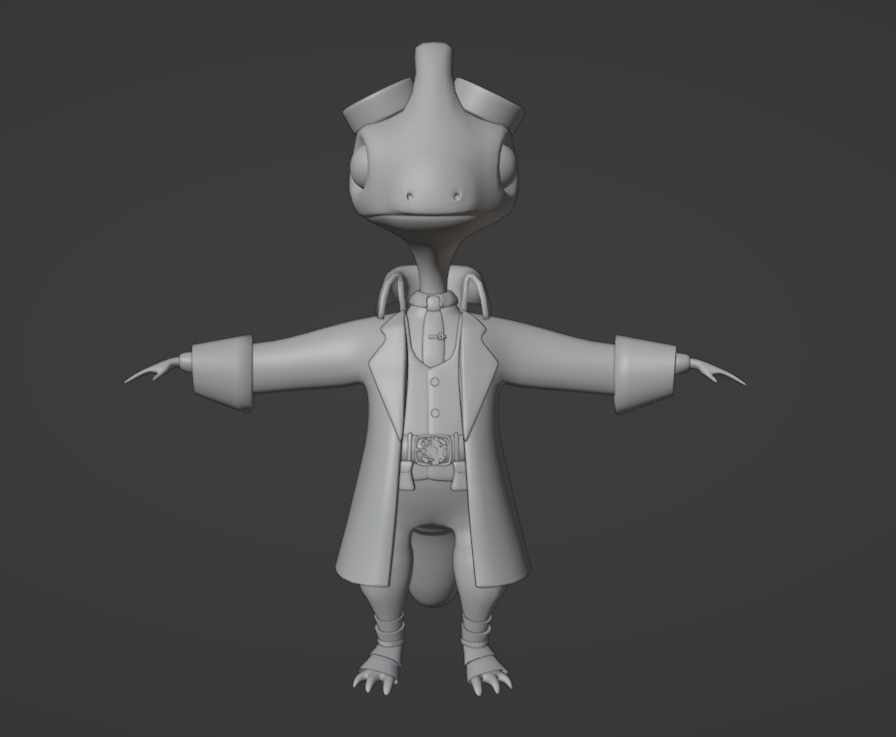
After that, I decided to change the cloak. I made the sleeves longer, added lapels and changed the shape of the collar.
New cloak deasign
The last clothes item that was left were the shoes. As I could not make ordinary shoes due to the specifics of lizard feet, I decided to make something that would look like leather armour and decorate it with gear-looking spurs to match the tie pin.
Overall look with shoes
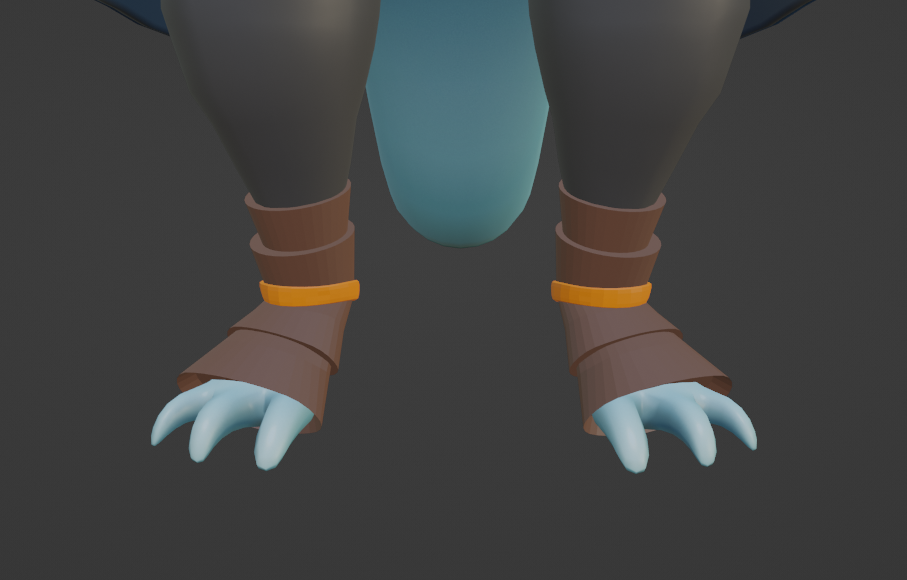
Shoes front view
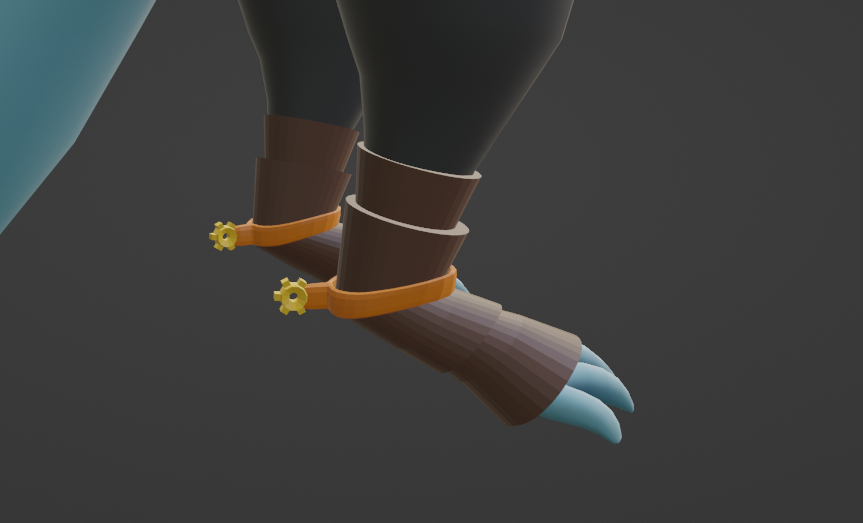
Shoes side view
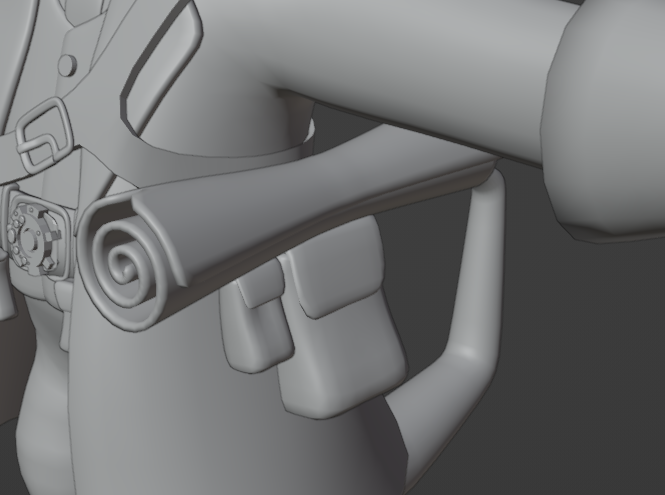
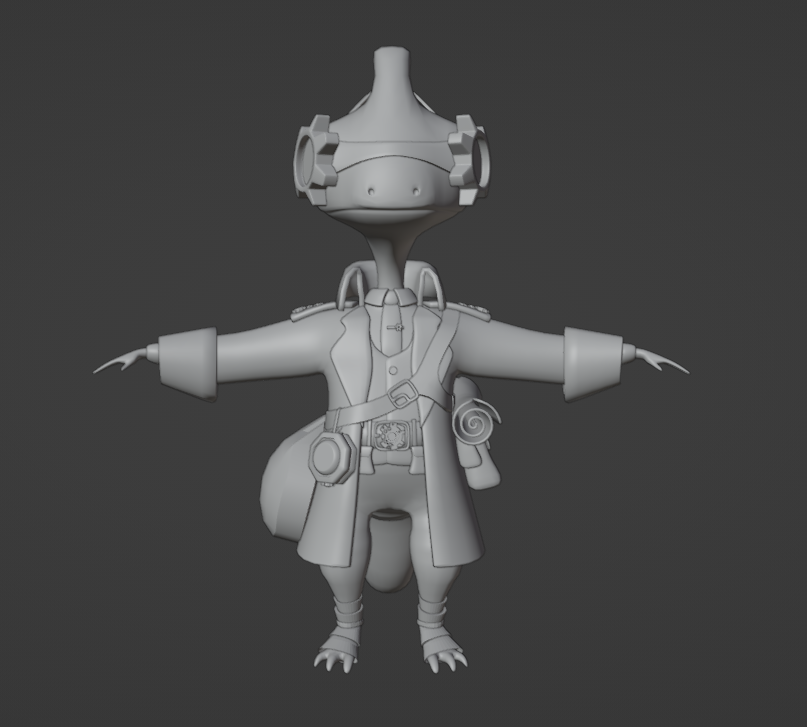
The next step was to add a strap for the bags, small and big bags, and placeholders for a map and a large bag that later would be used in animation for drones.
Strap front view
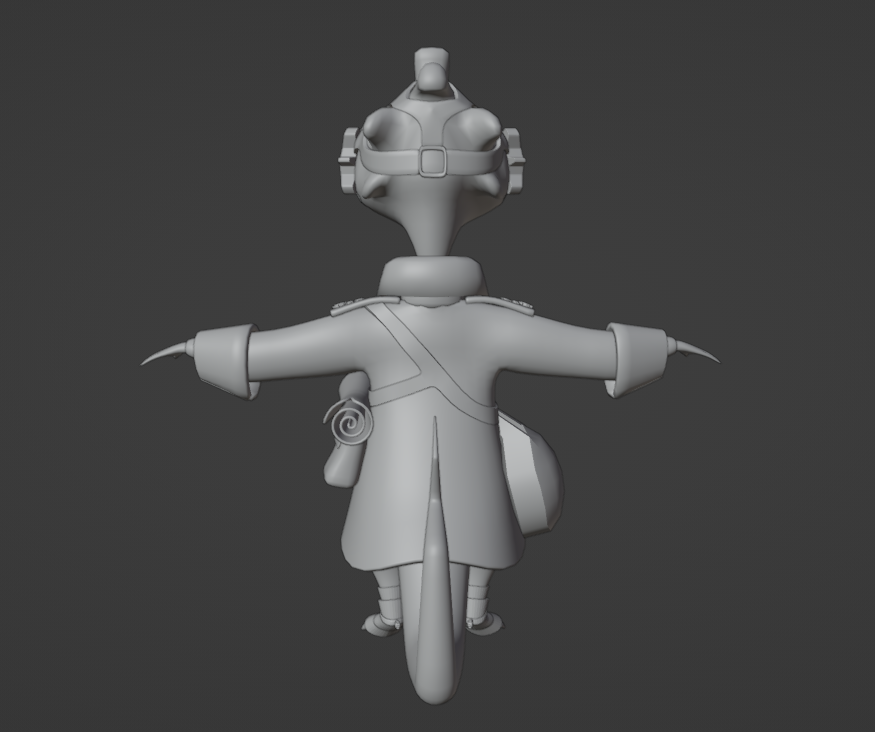
Strap back view
Small bag, big bag and a map placeholder
Large bag placeholder
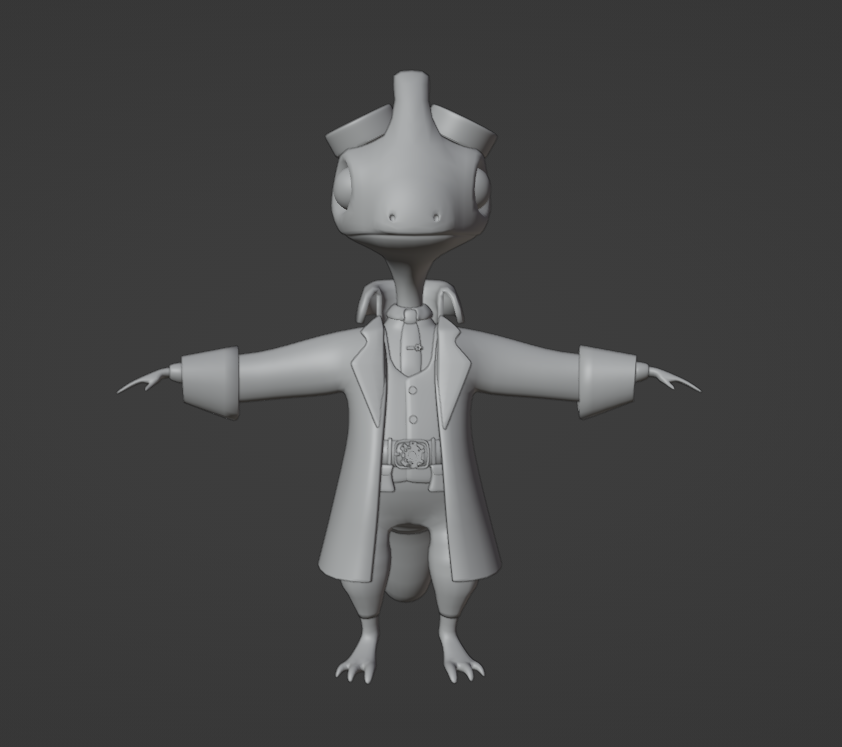
Later I created a map and placed it properly. After that, I decided to add epaulettes with tiny gears to the cloak and create a compass decorated with a gear-like lock as well.
New overall look
Finished map
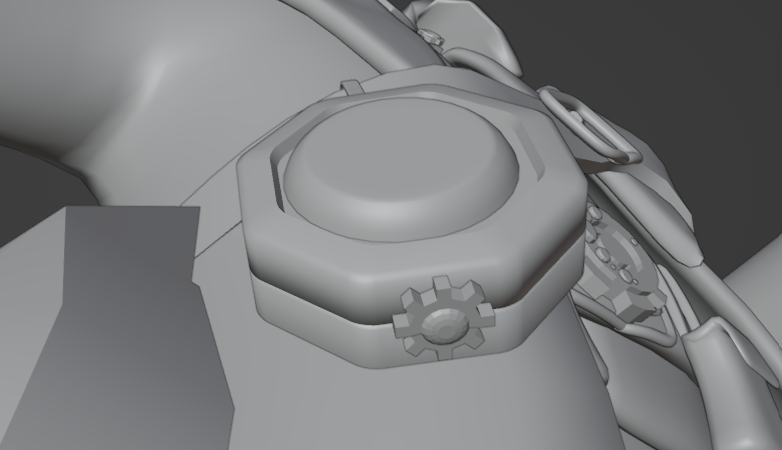
Compass
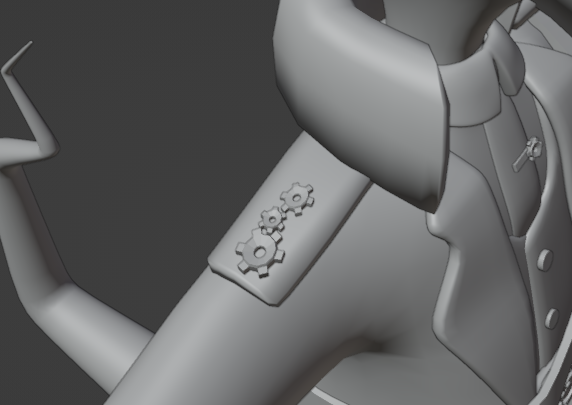
Epaulettes
Only a few things were left to add. The next thing to do I chose the goggles. As the lizard head is different from the human one, I had to try different options for joining them. With the help of the client's feedback, the final design was chosen.
Goggles front view

Goggles top view
Goggles back view
Goggles in colour
After that, I had to exchange the large bag placeholder with a ready item, so I started working on it. Later with some adjustments according to the client’s preferences, it was finally finished.
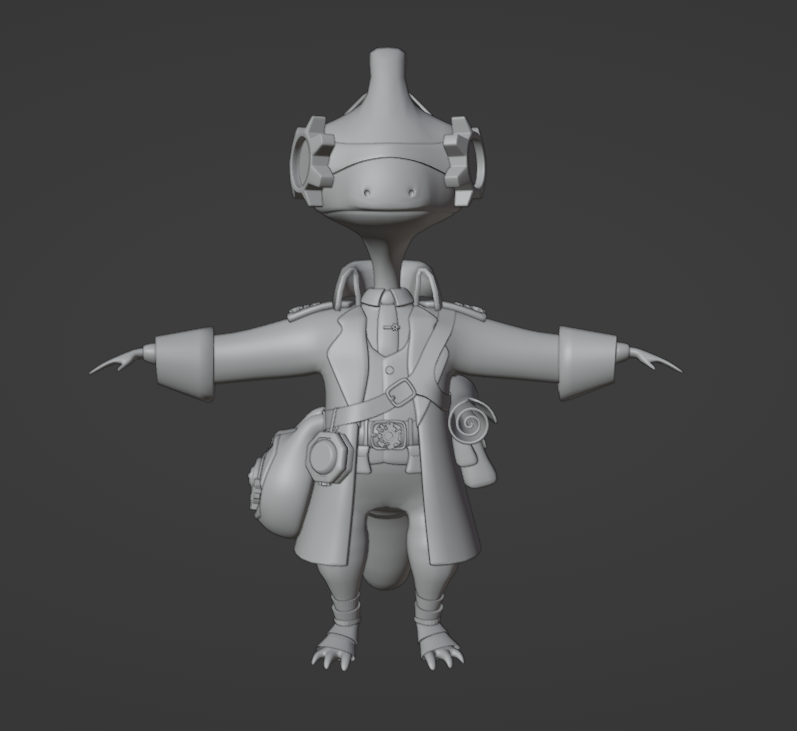
Overall look with a large bag
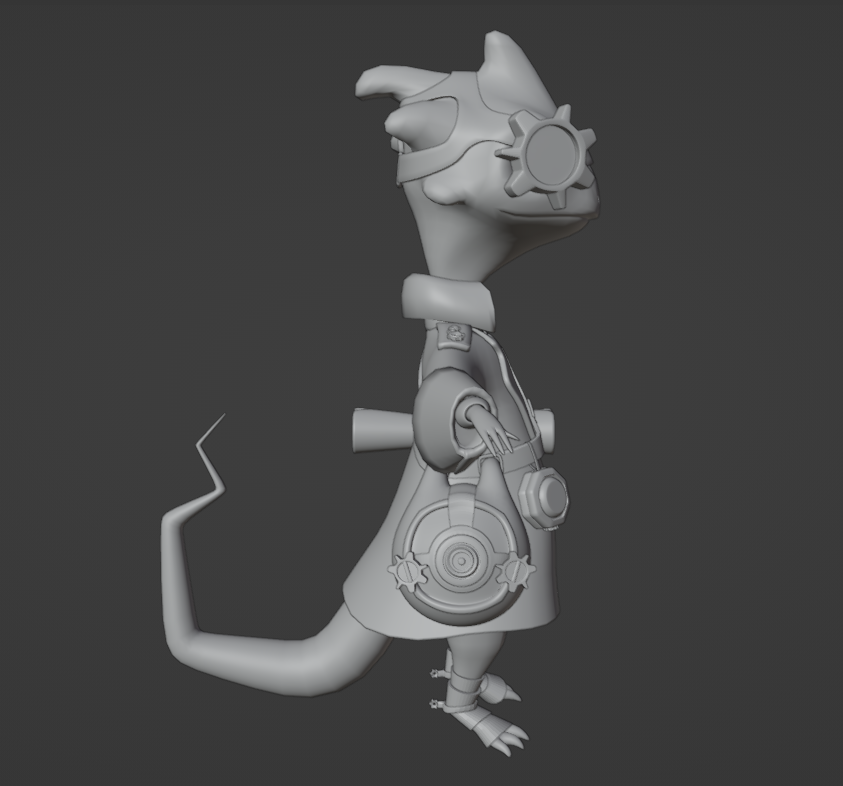
Side view with a large bag
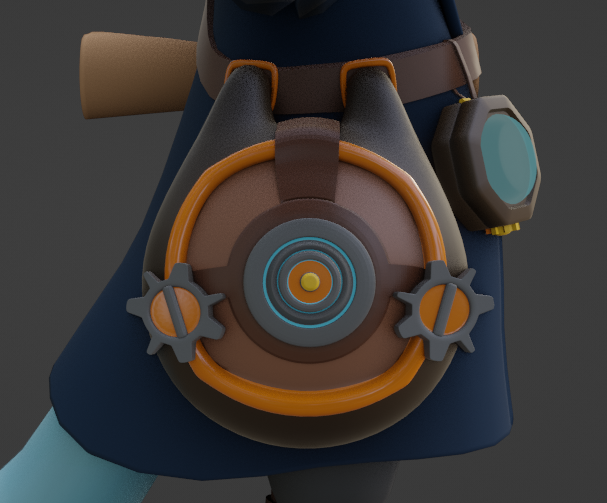
Large bag in colours
The design was almost finished, I only needed to add some straps and buckles to the bags and fix the collar of the shirt to make it more realistic.
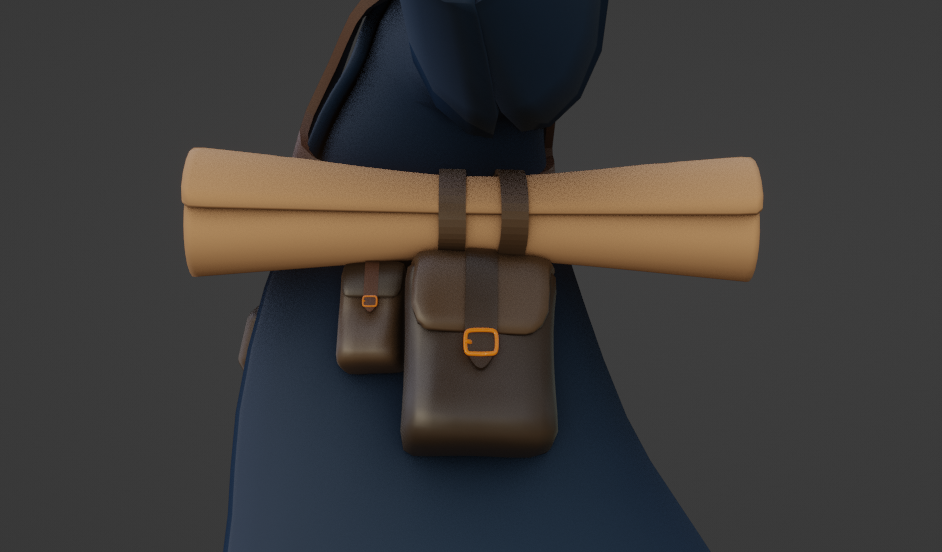
Bags with straps
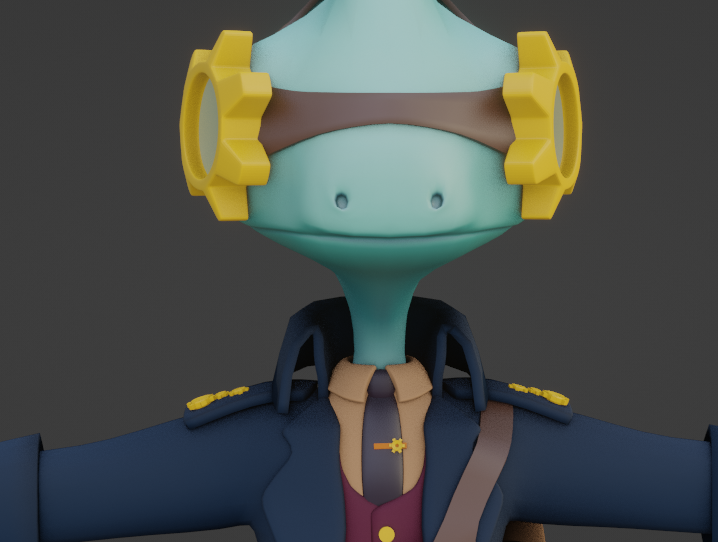
Edited shirt collar
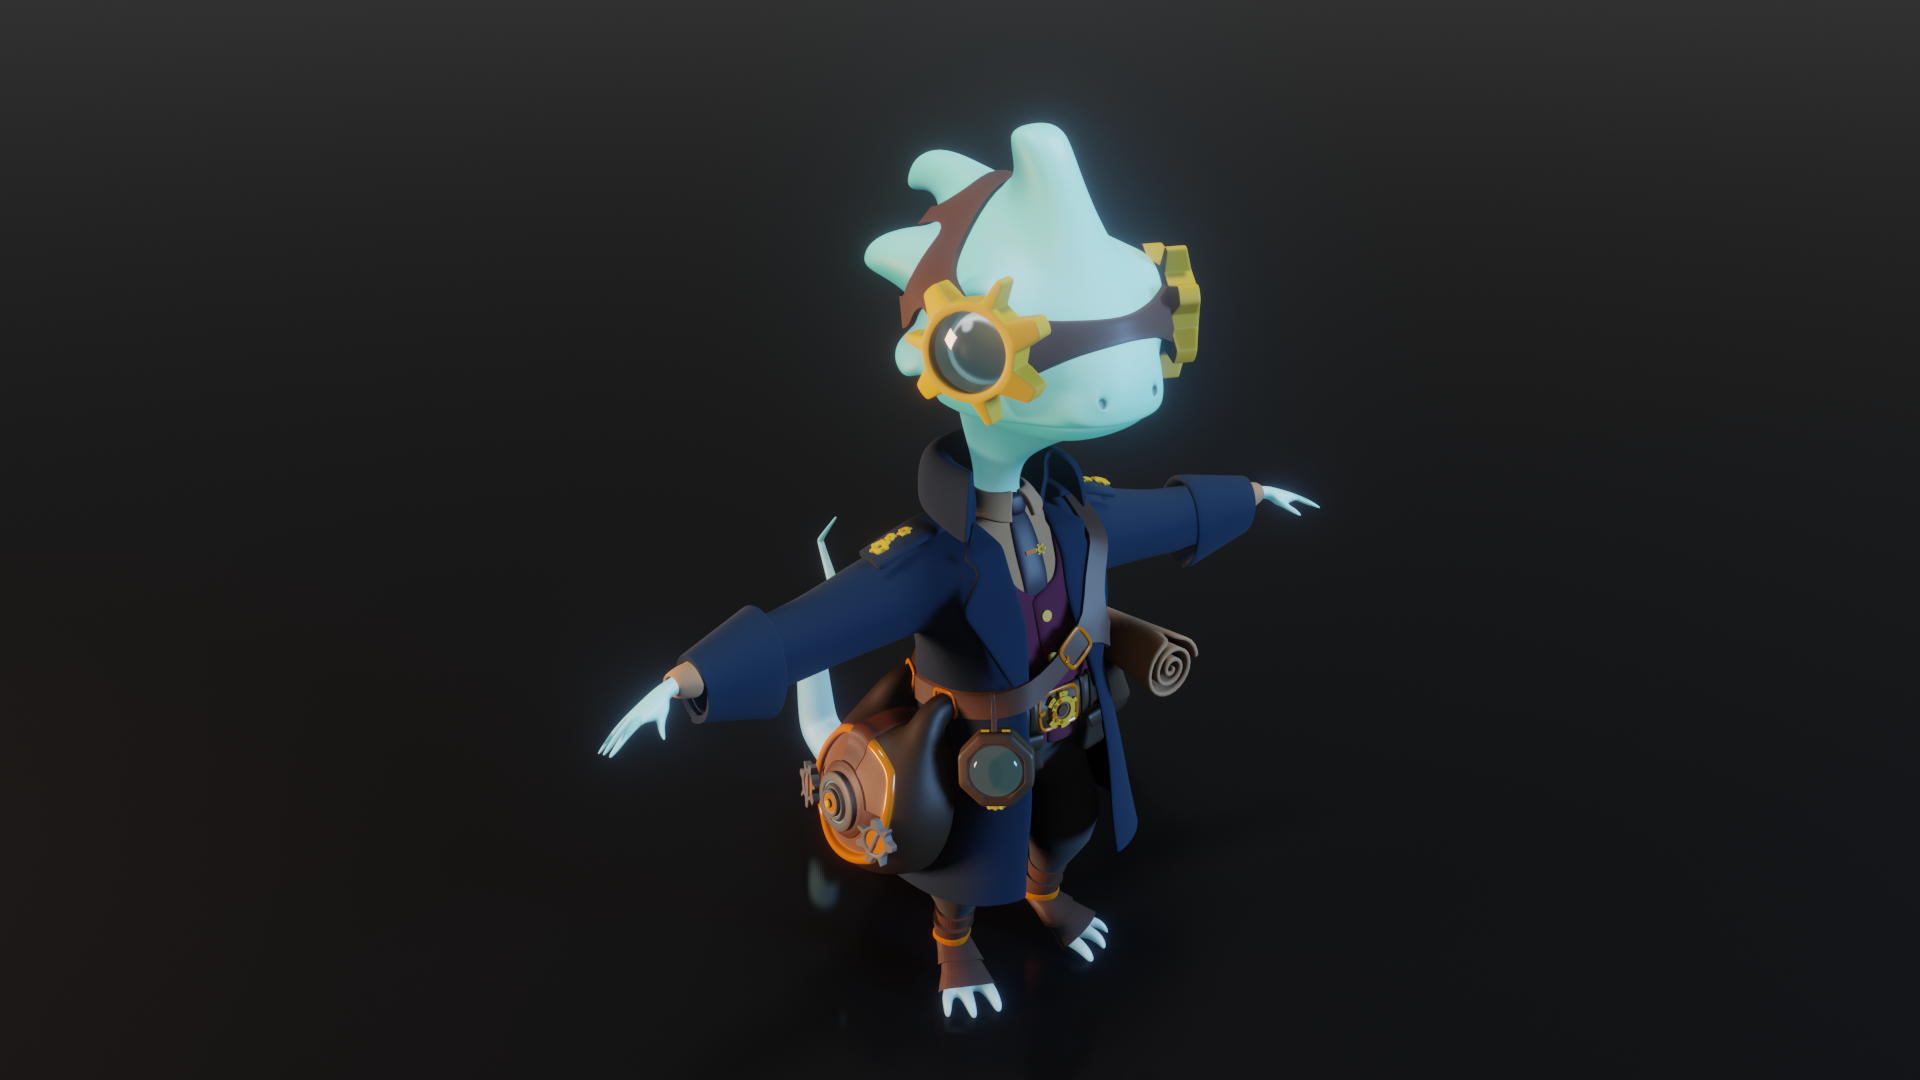
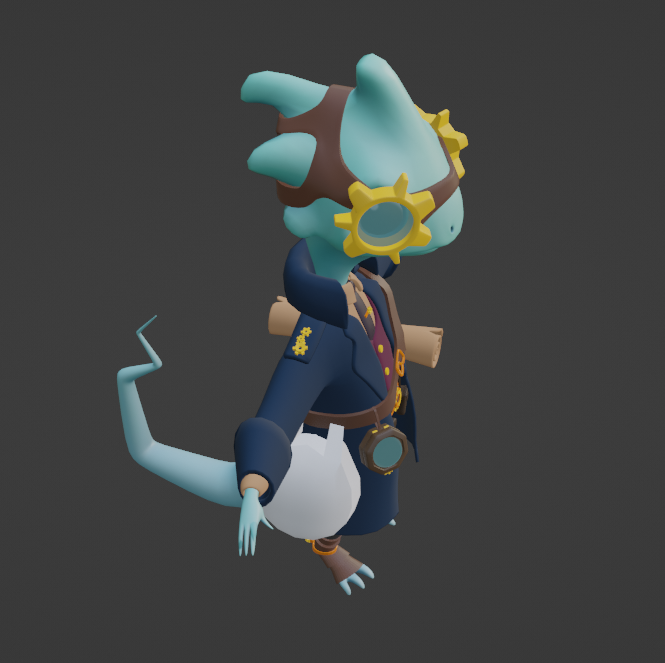
Final render
The colours that were used throughout the project were mostly taken from the colour pallets created by the client, however, some additional colours were added in the process.
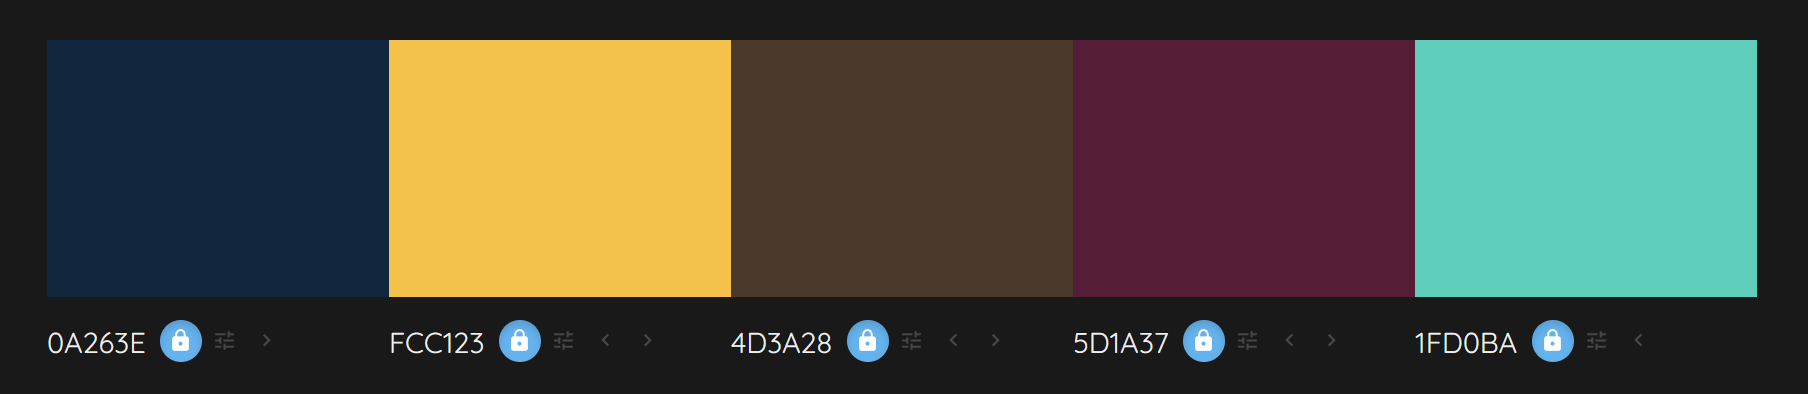
Main colours pallet
Proportions
Top-view proportions
Edited posture
Male body mesh
Failed attempt
Successful body mesh adjustment
Basic cloak block-out
Cloak and trousers
New smooth body mesh
Clothes adjustment
More clothes
Lizard body front view
Lizard body side view
Lizard in the cloak
New trousers and a vest
Changed design consept
New shirt, tie and a tie pin
Tie and pin
Overall look with new elements
A belt, a buckle and bags
The new overall look
The edited belt, a buckle and bags
New cloak deasign
Overall look with shoes
Shoes front view
Shoes side view
Strap front view
Strap back view
Small bag, big bag and a map placeholder
Large bag placeholder
New overall look
Finished map
Compass
Epaulettes
Goggles front view
Goggles top view
Goggles back view
Goggles in colour
Overall look with a large bag
Side view with a large bag
Large bag in colours
Bags with straps
Edited shirt collar
Final render
Main colours pallet

