General Info
Project type: Individual RSA Project
Project duration: 13 weeks
Chosen RSA brief: Brief 3: In Your Skin
Project platform: MR/VR (Mixed Reality/Virtual Reality) with additional prototype build for PC
Target audience: 16- to 25-year-old medical students
Sustainable Development Goals: SDG 3 (good health and well-being) – required; SDG 4 (quality education) – followed with the development of the project
Project brief: An educational MR platform for medical students that would offer a wide range of anatomically accurate 3D models of different human body systems accompanied by a theory section and short animated educational videos
Introduction
This Individual Project was limited to the annual RSA briefs to let students choose one of the up-to-date topics and develop the solution to the chosen issue. Therefore, the first stage of the project was preliminary research for each of the suggested briefs which was followed by a brainstorming session to gather the best project ideas and help students choose one of the current RSA briefs:
The core topics were AI and its assistance in controlling and/or predicting climate changes because of global warming; eco-friendly environment development to keep modern infrastructure more sustainable; and society-based issues such as promoting a caring culture and dissemination of information about skin-related topics to help young people rise self-confidence and understand their unique identity.
After analysis of the criteria, background research, and evaluation of the importance of each offered issue, I have decided to stick to Brief 3: In your skin. Based on my research about modern beauty standards and peer feedback about the level of their confidence with the general look of their skin with no make-up, this was considered a very important issue as, despite being rather critical nowadays, it does not have any actual time limits because without any interference now it would be raised by each new generation again and again. Therefore, the major focus of the project was to develop a solution to help young people increase their skin-related confidence to enable their unique identity to flourish and disseminate information about healthy skin treatment.
Project Idea Development
First, to choose the best way of approaching the issue, the brief was carefully studied and discussed with peers to identify the main sources of the problem and to be able to focus on the main aspect. The major points described in the brief are to increase skin-related confidence; to share information about the wide range of “normal” skin conditions that may look different from the stereotypically beautiful skin look according to the beauty standards; to advise healthy skin treatment and good skin-care products; and to promote acceptance and celebration of one’s appearance and skin as its main attribute.
For illustration purposes, the brief offered such ideas for the project development as an online community group for people unrepresented in media, a national festival of skin to celebrate skin diversity, and a digital art project to let people anonymously upload pictures of their skin to build the portrait of the collective skin. These examples helped me to build my approach to understanding the issue and finding a solution for it.
As was discovered during peer discussions, one of the main issues relating to skin confidence was a simple lack of information about the healthy ways of skin treatment and a general understanding of what your skin is and why it looks in such a particular way. Therefore, the initial idea of the project was to create an app with an anatomical 3D skin structure model, general skin information, and skincare tips. This idea was aimed at the 16-25-year-old general audience as was required in the brief.
However, with further research, Case Study topic development, and more peer feedback, the idea of the project has progressed a lot. Considering the lack of skin knowledge as the main issue, it was decided to develop a wide educational MR (Mixed Reality) platform offering a broad range of anatomically accurate 3D models of different human body systems accompanied by a theory section and animated educational videos. As the scale of the project has significantly increased, the target audience has changed to medical students which also fits the requirement. Additionally, later it was decided to create a system of levels of information specifications, similar to difficulty levels in games, to adapt the shown information for the audience: basic level for the general audience, intermediate level for the college students, and advanced level for the university students. However, as this add-on was considered in the middle of the project, the developed prototype was aimed at university medical students.
Project Design
First, I had to decide what game engine and platform I was going to use for this project. I wanted to make my project interactive and immersive, so I focused on researching Extended Reality components trying to decide from which one students would benefit the most. As a result, I chose to develop the project in Unity for MR because I concluded that a Mixed Reality platform could be used by medical students as a supportive tool during their lessons. However, later I discovered that there were a couple of issues with that.
At first, I started developing the project for PC simultaneously researching how to work with MR in Unity until I got access to a VR headset. After that I created a new project and started applying previously gained knowledge to enable MR, however, I ran into a problem with a passthrough mode. Due to some technical issues with the headset, I had to change the plan, although I did not give up the idea of the MR project, therefore I was advised to simulate Mixed Reality through Virtual Reality.
I have researched creating 360° pictures and using them as background for the project. So, the new plan was to borrow a 360° camera from the university Multimedia Centre and take pictures of the DMD studio to create the illusion of passthrough mode. I managed to get a Rico Theta V 360° camera and a tripod for it.
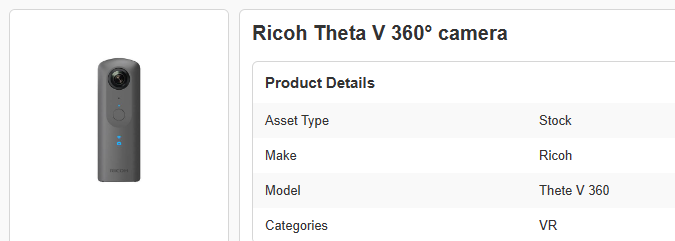
Booked camera
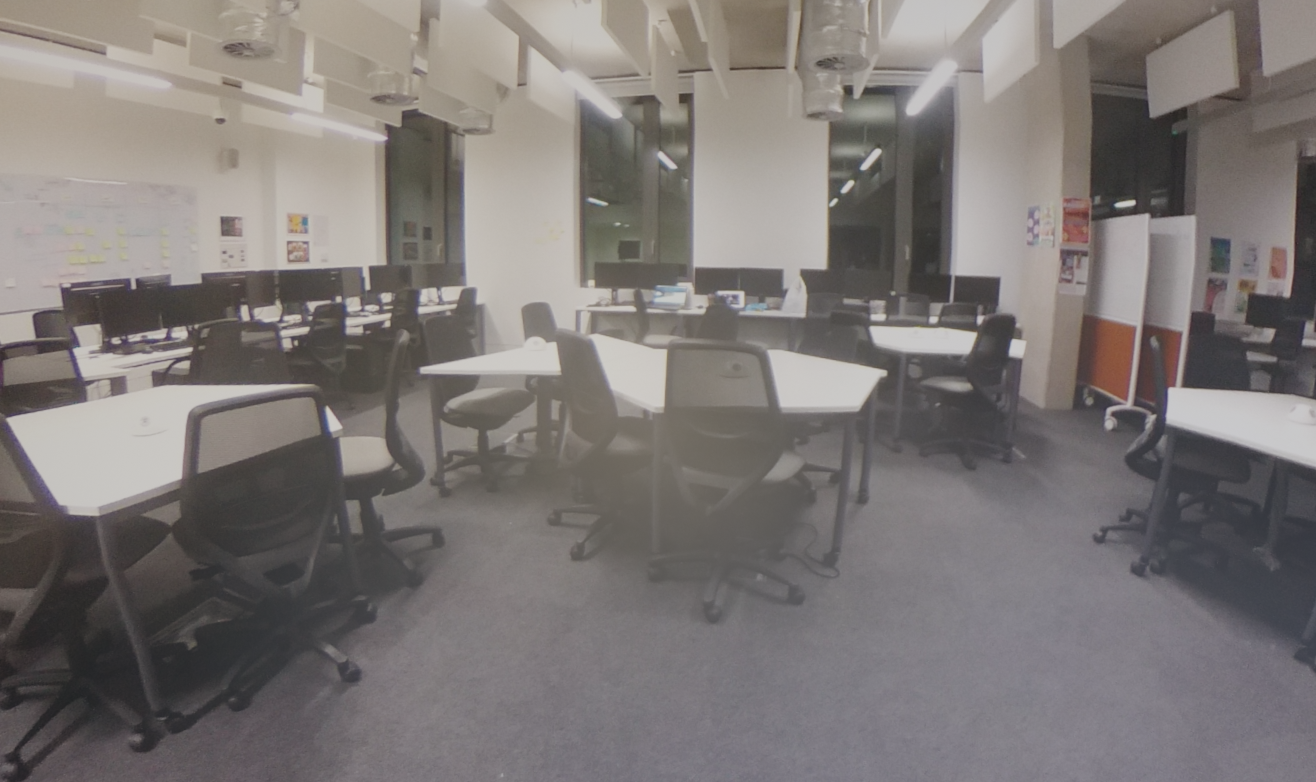
After that, I took a couple of pictures of the classroom and chose the best fit for the project.
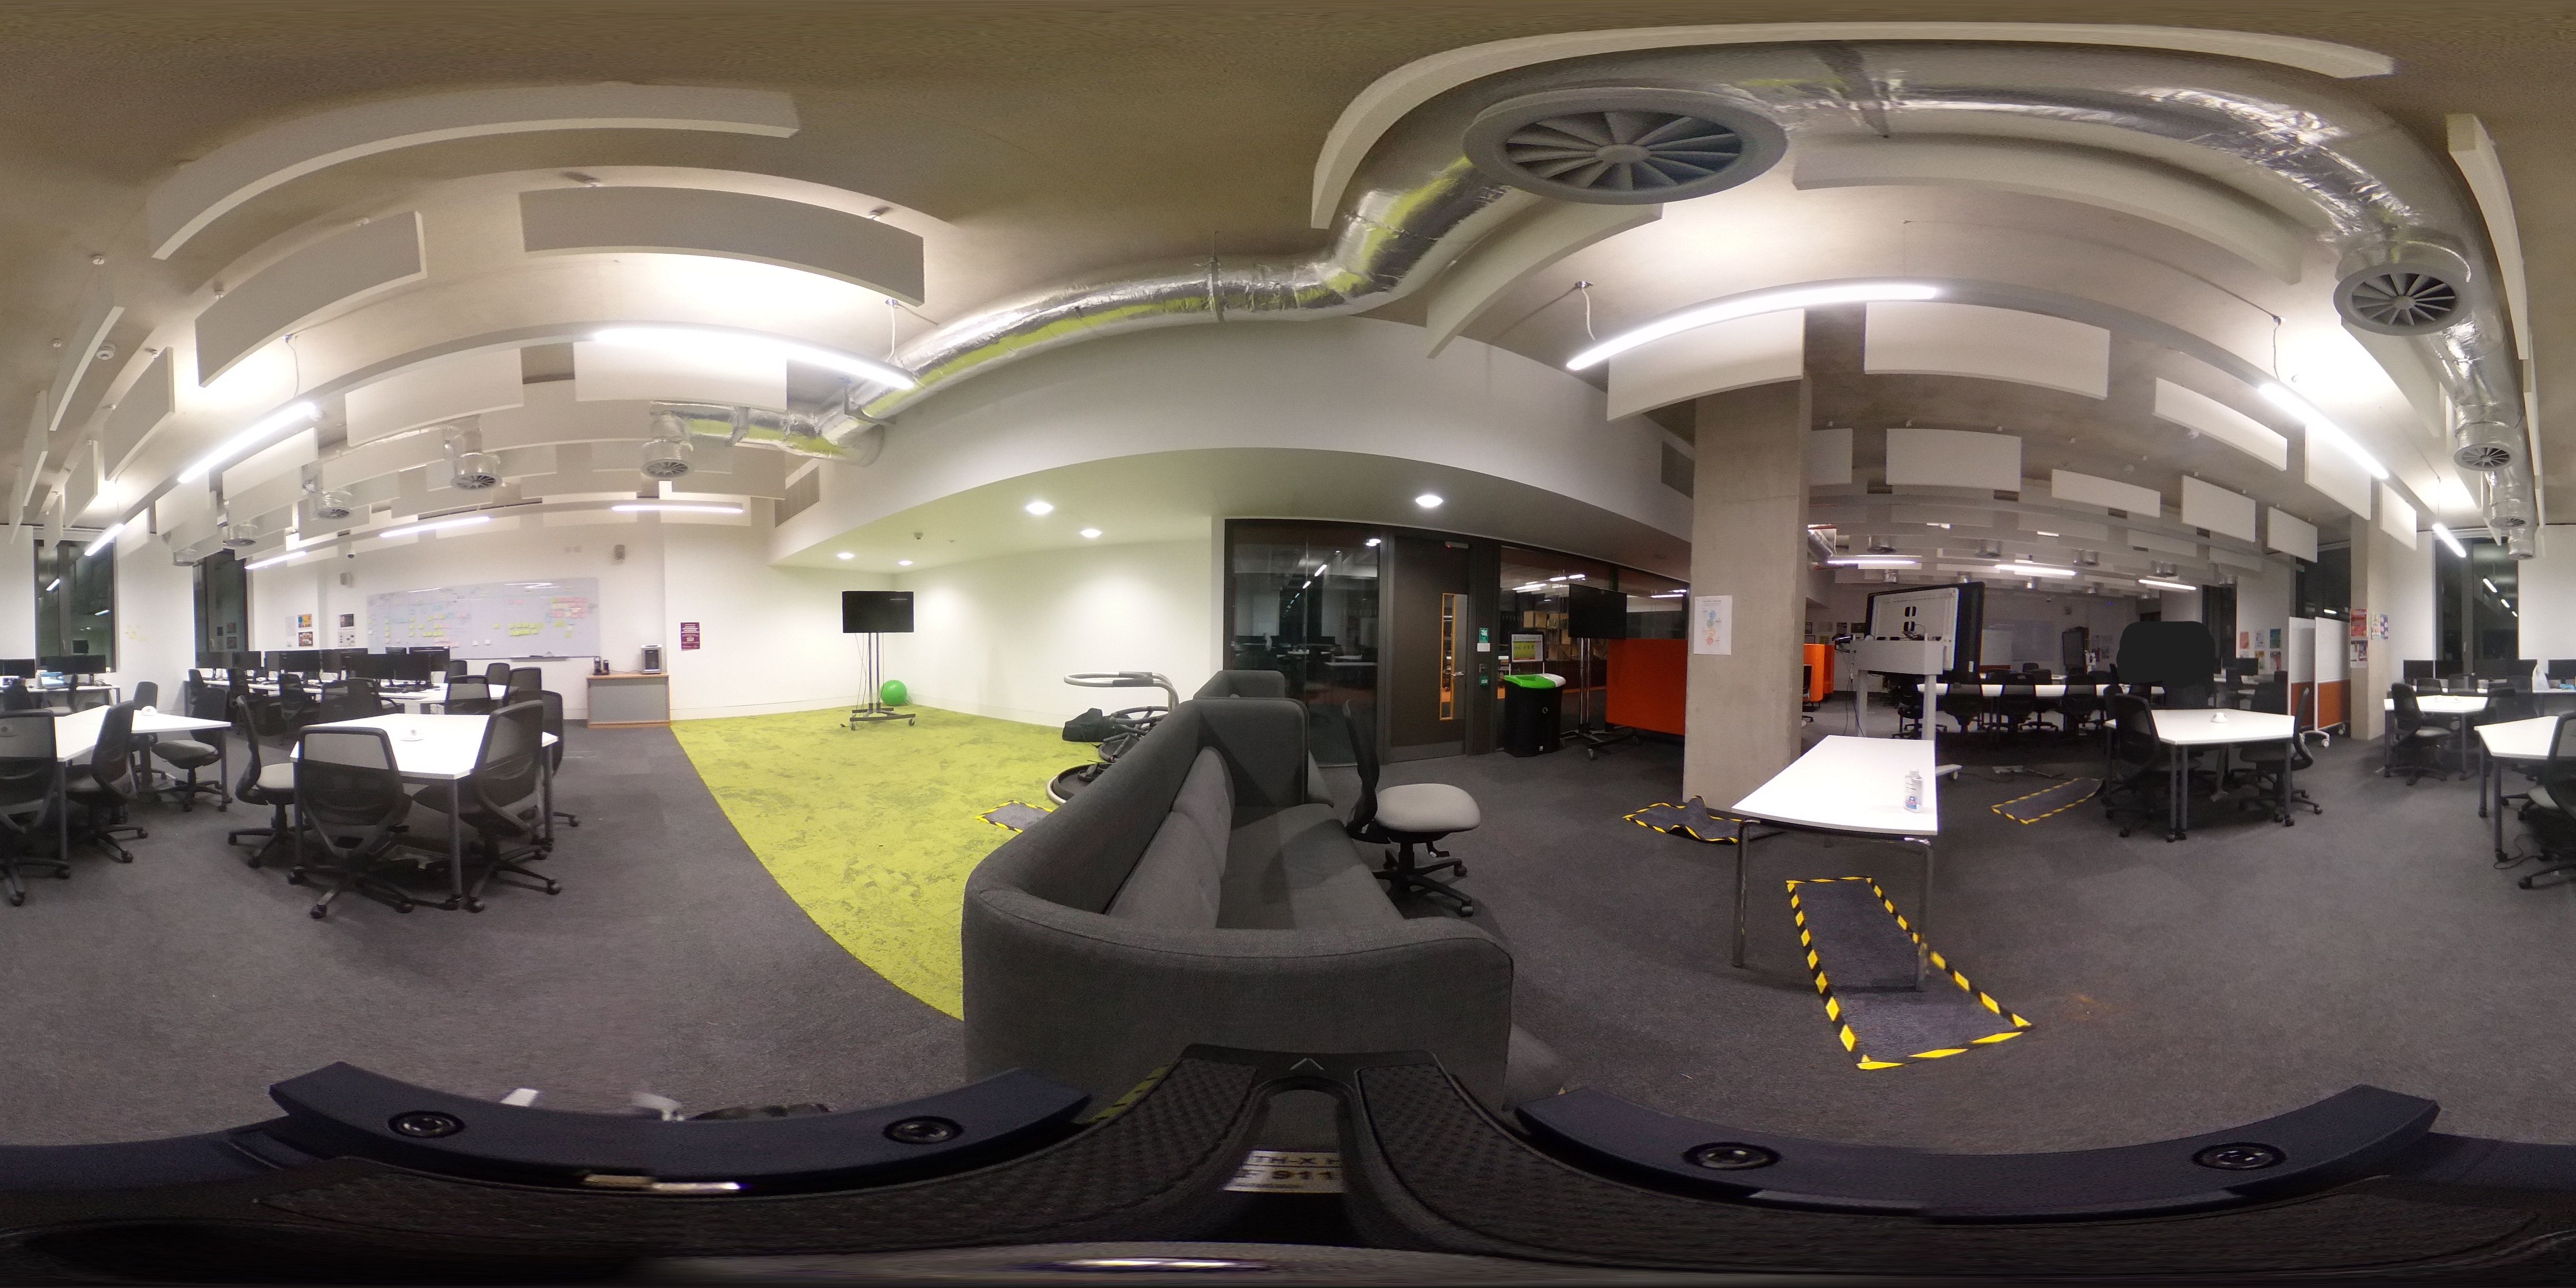
Chosen 360° picture
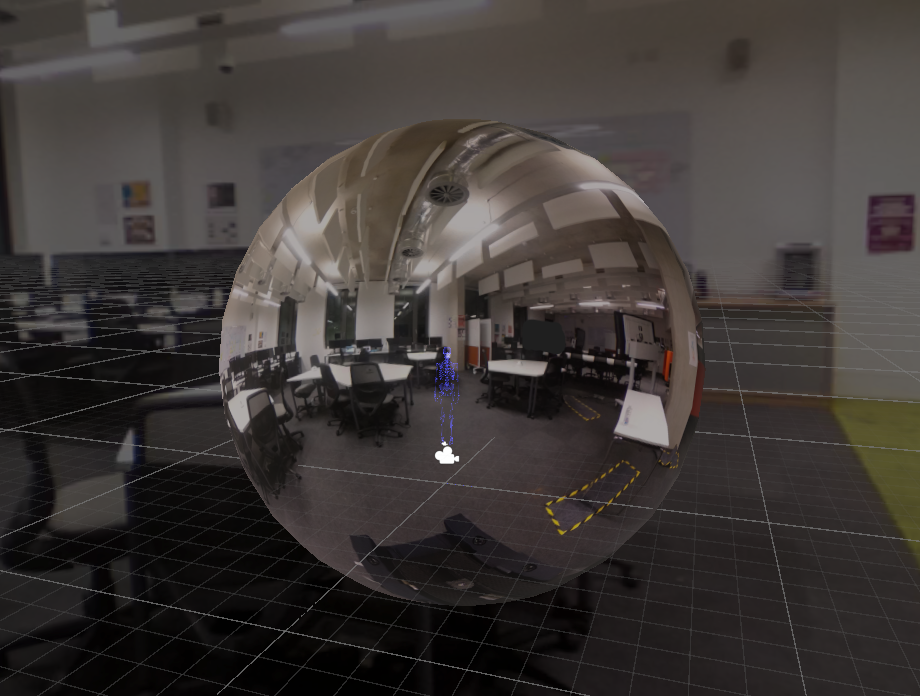
Once it was done, I created a sphere in Blender, inverted the faces, and wrapped the picture around the sphere. Then I took it to Unity and adjusted the size so that the skeleton, that was chosen to be used for the prototype, and a user would be inside of the sphere.
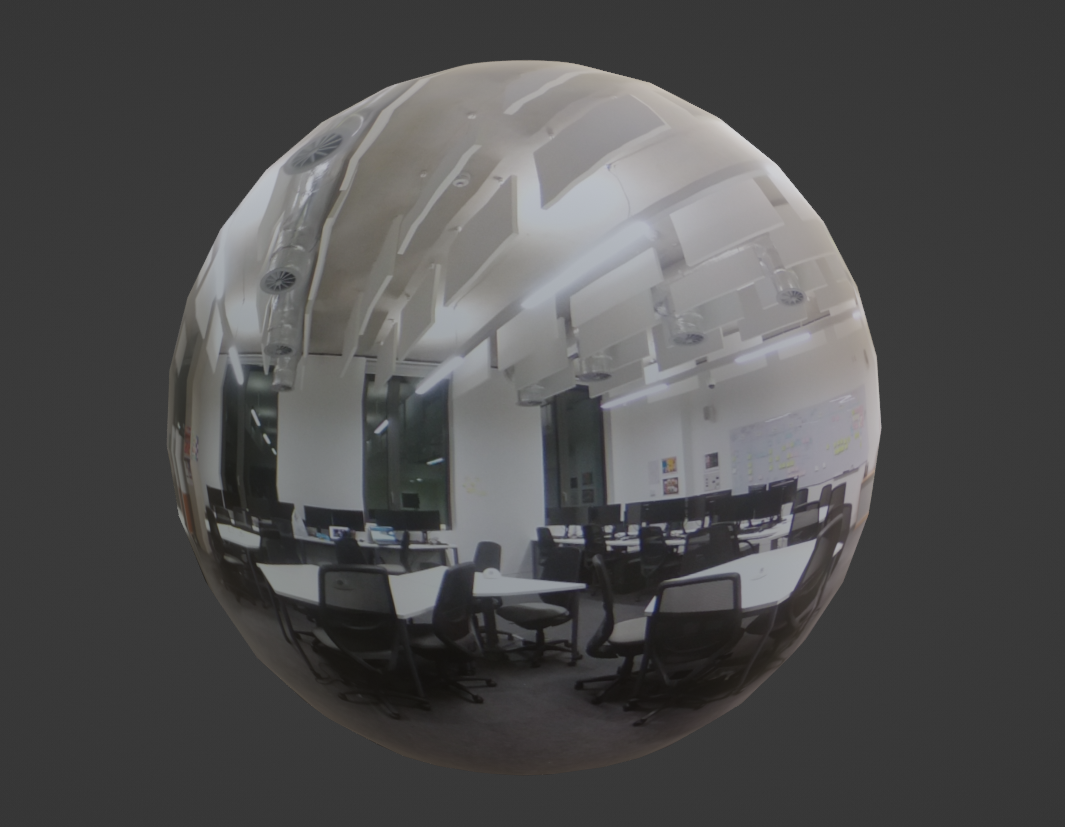
Sphere from outside
Sphere from inside
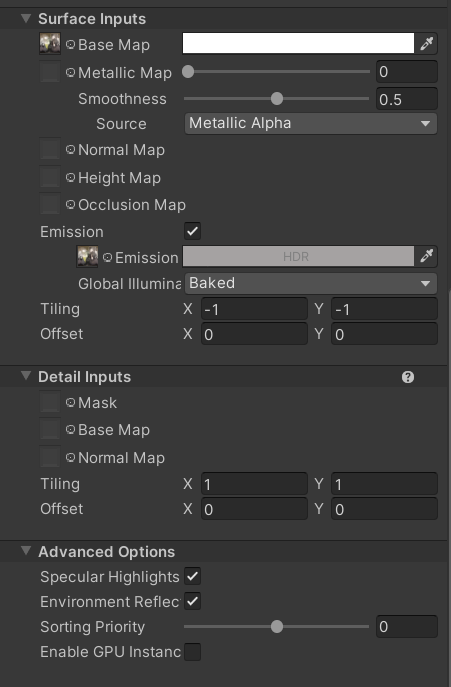
Sphere light settings
It created the illusion of a realistic background, however, the lights did not influence the objects (e.g. objects did not have shadows), so the same 360° picture was set as a background to the world, and the sphere angle was adjusted to align the lights.
World background set up
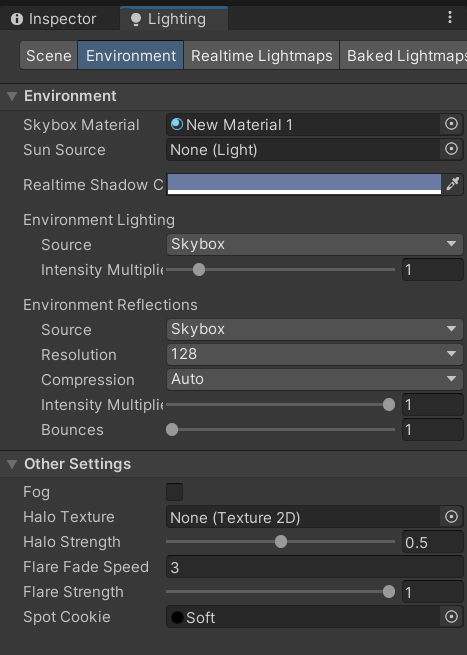
Unity Lighting settings
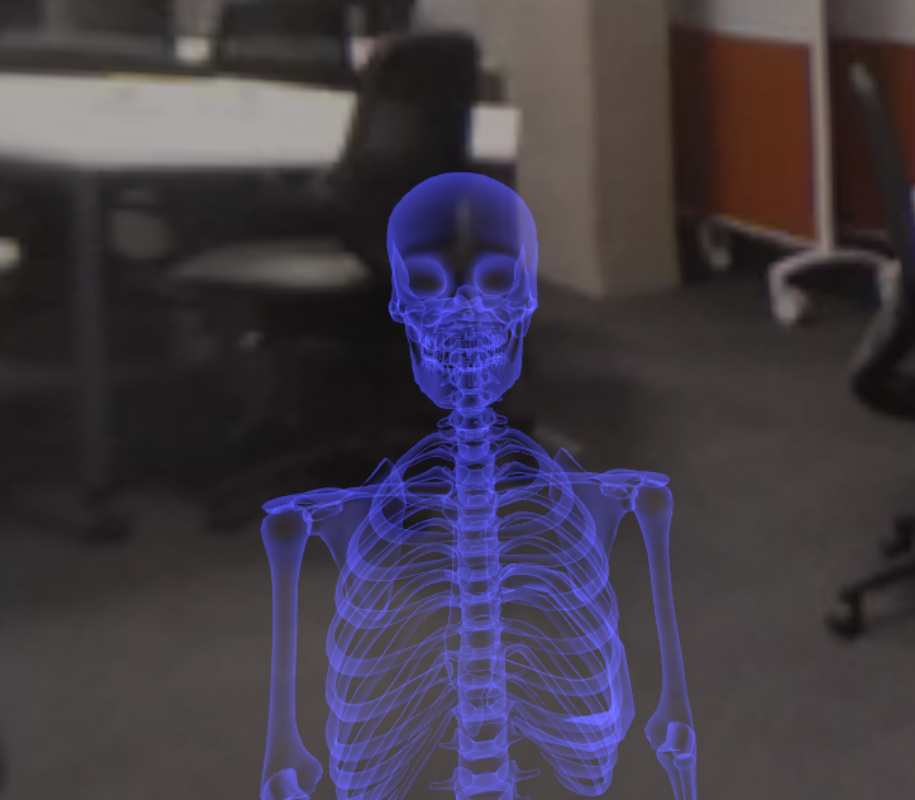
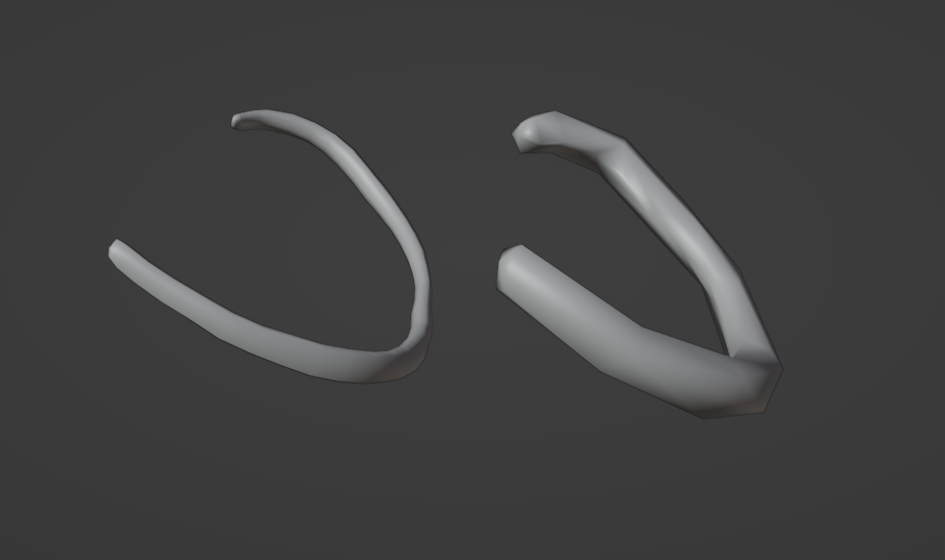
After the MR simulation was ready, I started looking for a realistic 3D model of a skeleton as I decided to focus on adding functionality to the prototype rather than creating an anatomically accurate model myself due to my lack of anatomy knowledge. Once I found a relatively realistic free skeleton on Sketchfab, I had to work with the model in Blender to prepare it for use in my project.
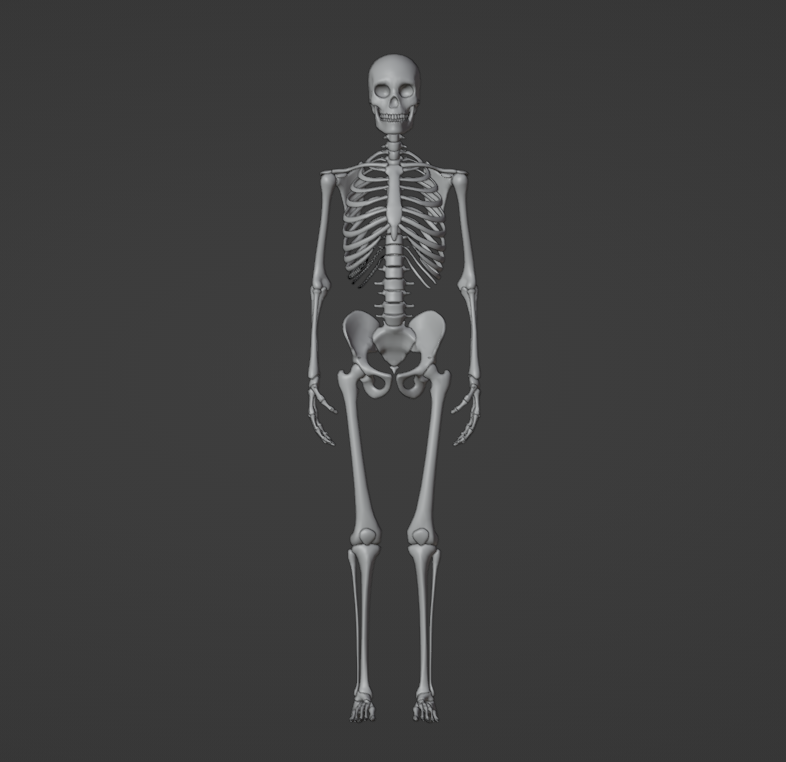
Original skeleton mesh
First, I had to significantly decrease the number of objects as some bones were made of multiple elements. Second, I had to fix the mesh on some of the bones to make sure they did not have any holes from all possible angles. Later I also had to fix the origin of each bone so that while grabbing in VR they would go straight to the user’s hand without any offsets.
Skeleton before editing
Skeleton with merged bone elements and corrected origins

Original mesh
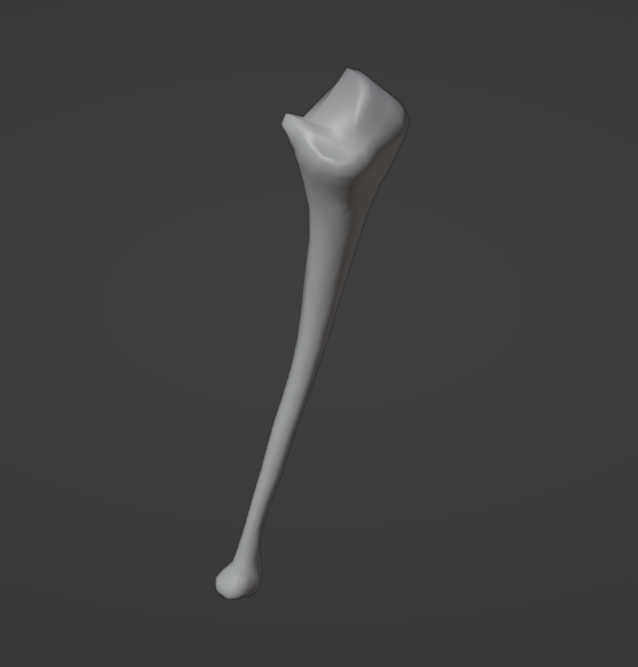
Fixed bone mesh
Additionally, I decided to create a stylized 3D model of skin layers to visualize what assets could be used for the creation of animated educational videos. Currently, the model is still being developed, however, once it is finished, the website will be updated.
Here is the model that is taken as a reference:
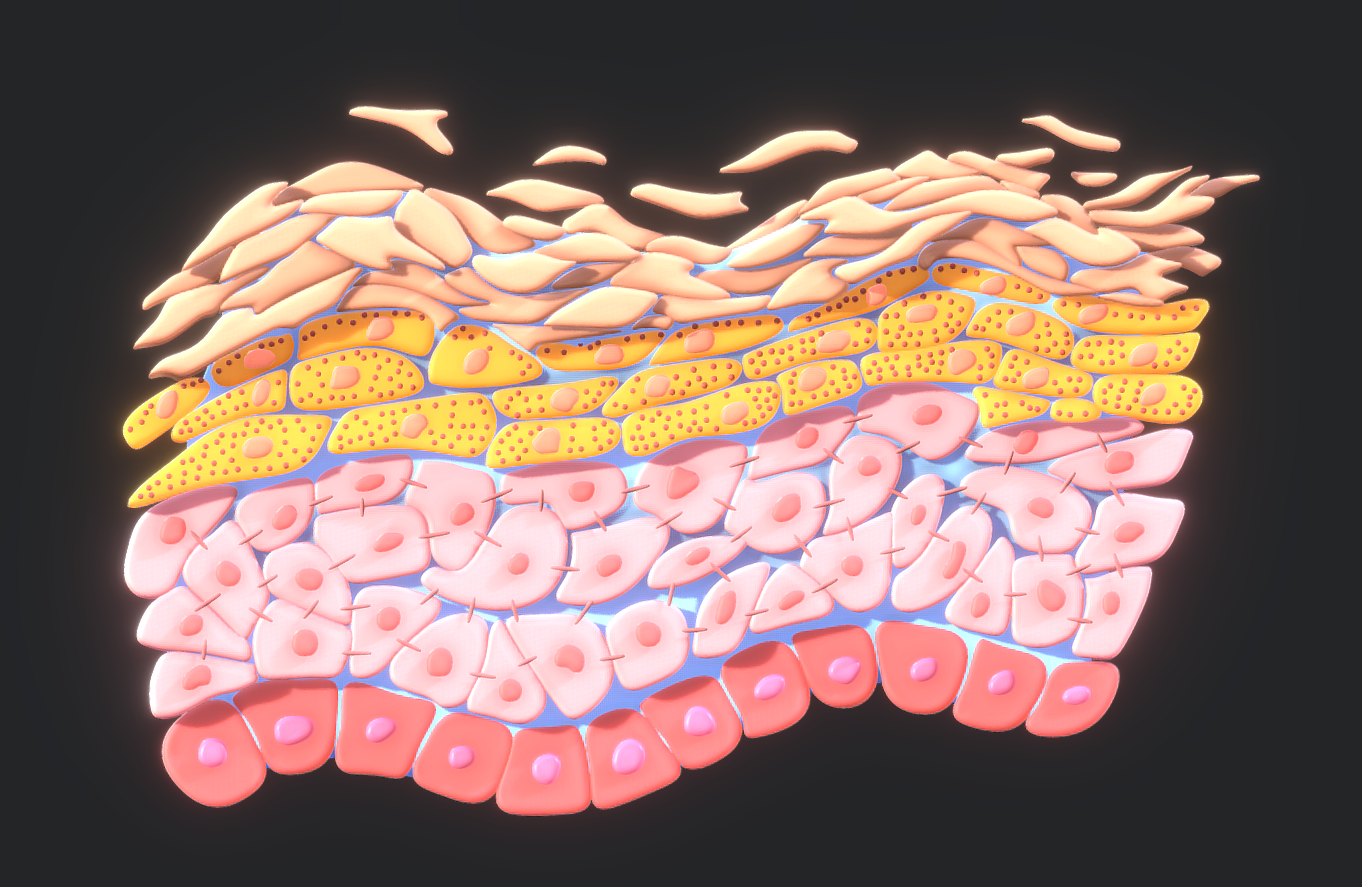
Skin model reference
Booked camera
Chosen 360° picture
Sphere from outside
Sphere from inside
Sphere light settings
World background set up
Unity Lighting settings
Original skeleton mesh
Skeleton before editing
Skeleton with merged bone elements and corrected origins
Original mesh
Fixed bone mesh
Skin model reference
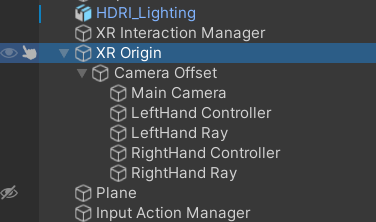
Project Development
Two Unity project versions were created for this project: one for PC and one for VR. While I was waiting to get a headset, I started creating a raycast system for PC to highlight and select objects for interacting. Following a tutorial, I managed to write this code:
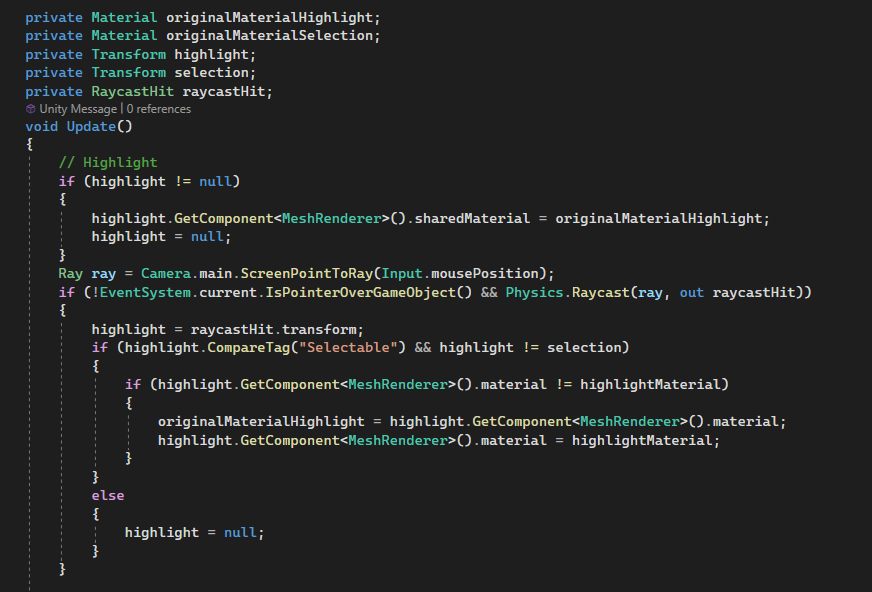
Highlighting and selection code part 1
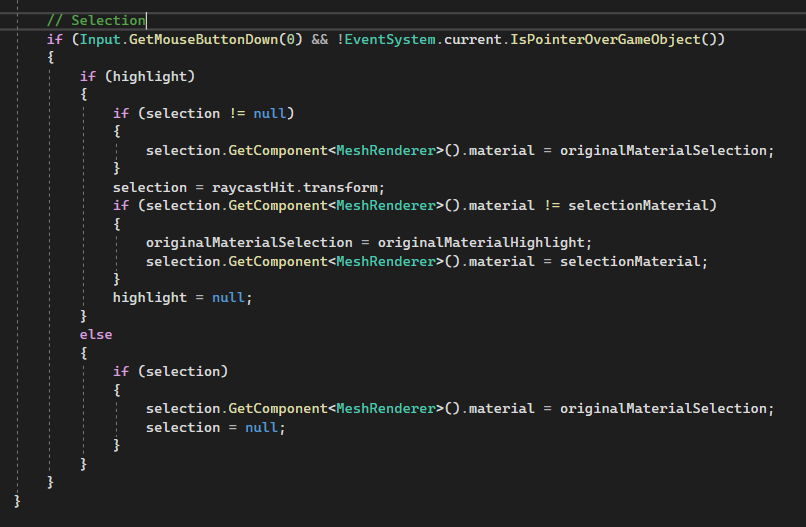
Higlighting and selection code part 2
However, to make it work I had to add a collider to bones. For most of them, a box or a capsule collider was great, but an issue with the ribs was discovered later as none of the previously mentioned colliders worked well enough for those. Therefore, I had to return to Blender and make low poly models of ribs to use them as mesh colliders. As they repeated the original shape of the ribs, the raycast system performance improved.
Rib and its low poly model
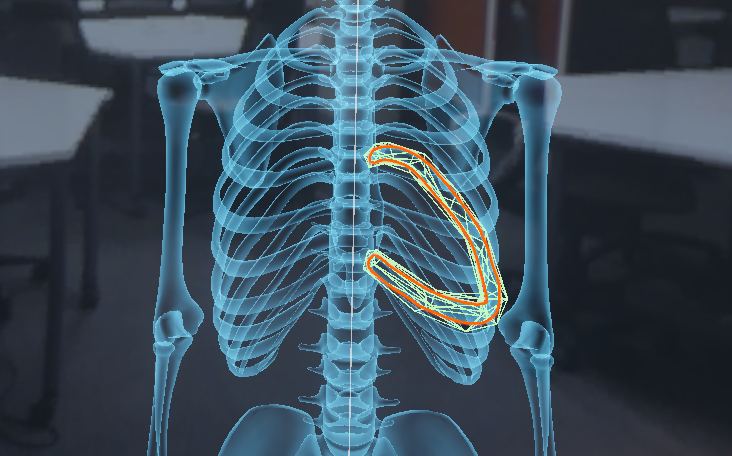
Low poly model used as mesh collider
Bone selection
Once the headset was received, I had a couple of attempts to set the project up for MR using Unity OVR plugin but when I moved to the idea of VR, I used my knowledge from the previous project (Invision) to create a basic VR system for walking, turning around and shooting rays to interact with objects.
XR system set up
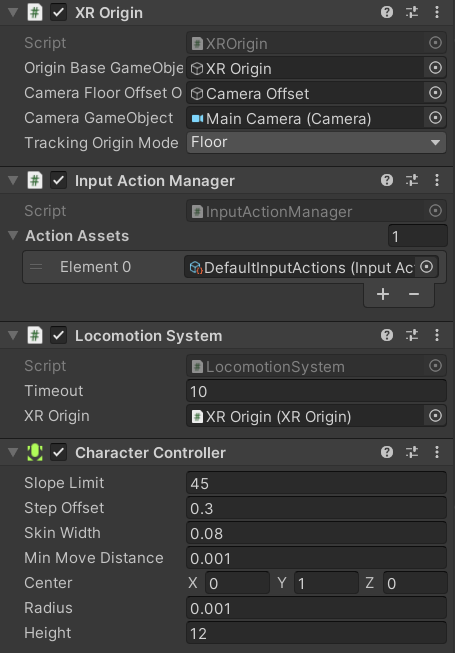
Unity settings
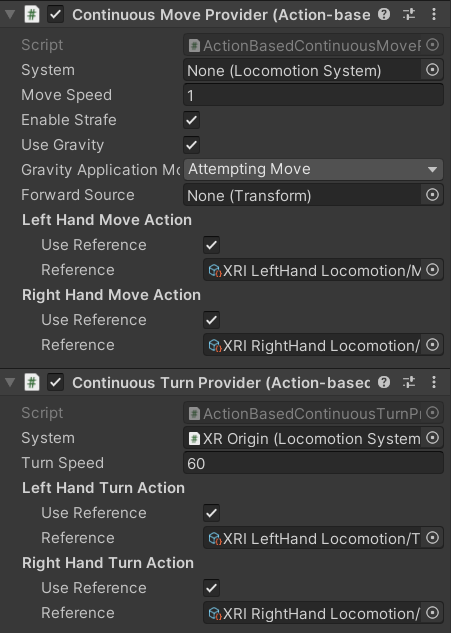
Movement and rotation components
Rotation and movement
That was followed by attempts to apply the highlight and select script to the VR project, but I failed to adapt it to the new input system. During research, I discovered that it is possible to highlight and select objects with the built-in XR Grab Interactable component. Additionally, I had to add a rigidbody and a collider component.
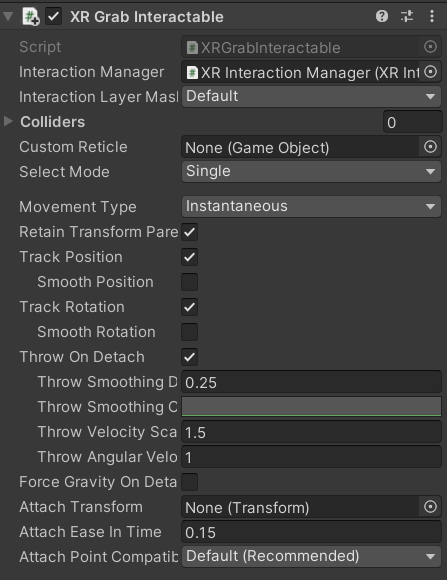
XR Grab Interactable component
Selection and highlighting settings

Rigidbody and collider components
Highlighting, selecting, and grabbing objects
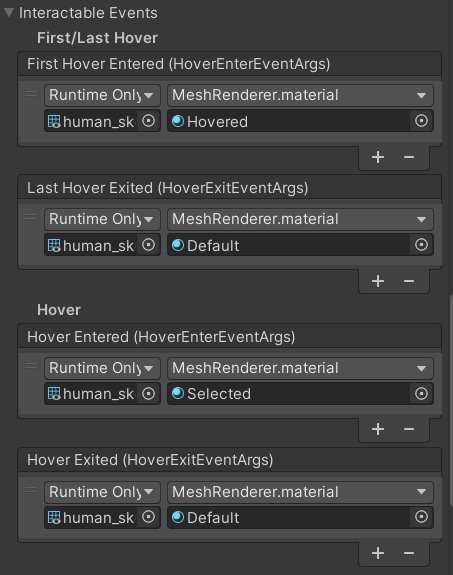
Originally basic material colours were used for testing the script, but once it was finished, I created a Fresnel Shader Graph and used it for making a basic blue colour material as a default material for bones and a yellow colour material for hovering over an object. For selection, I decided to use a plain colour to let users see all the bone curves easier and better.
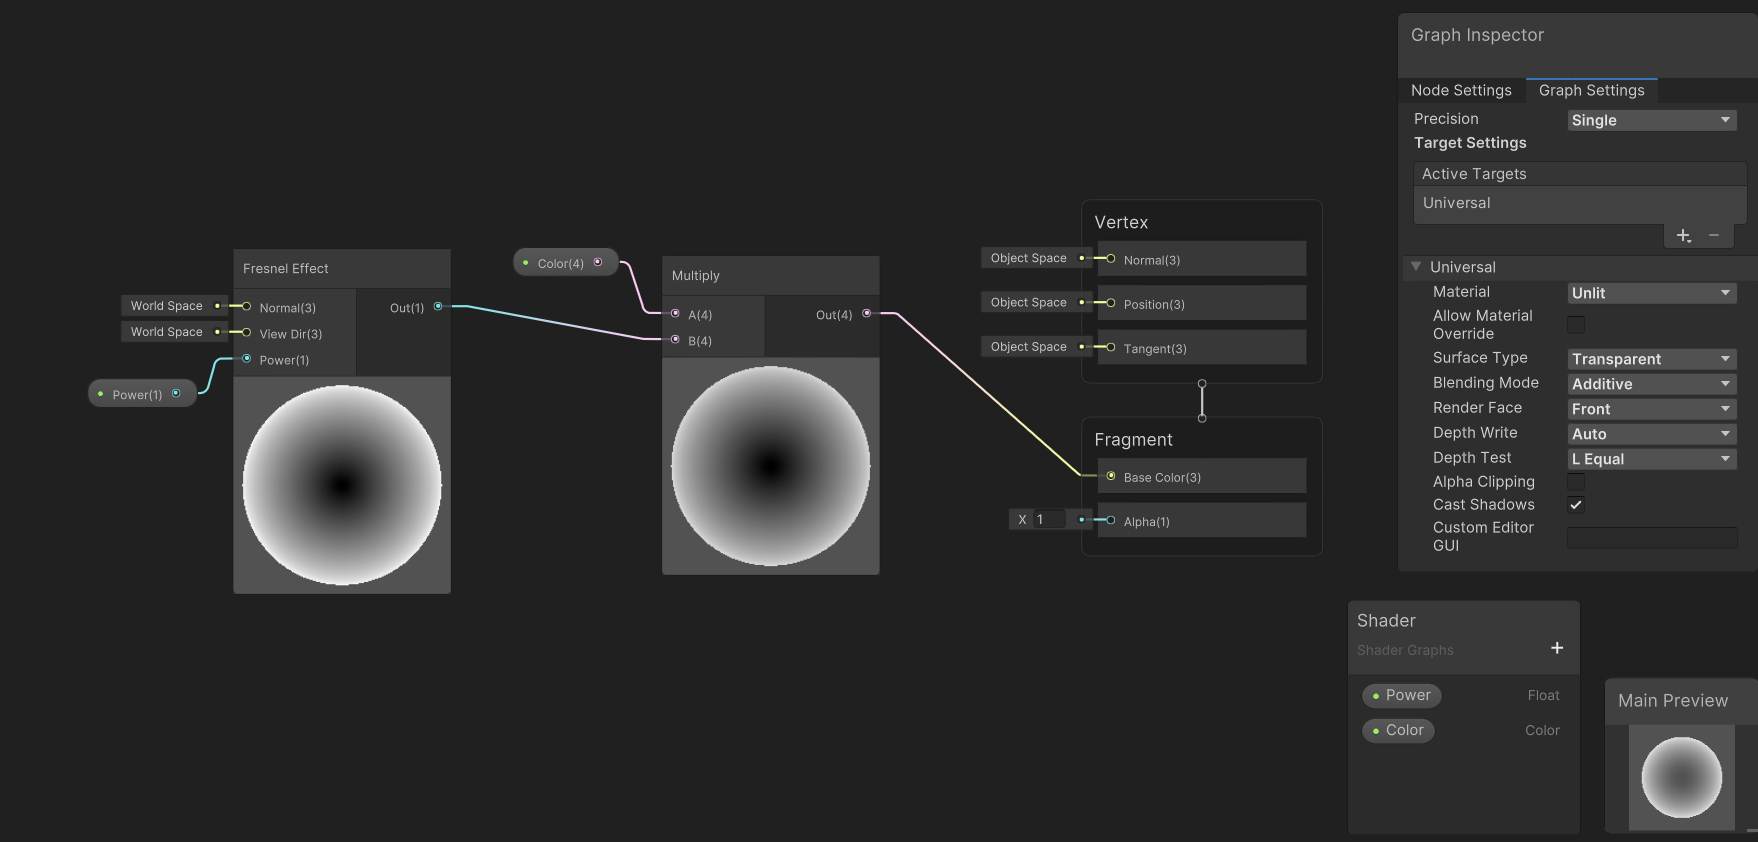
Fresnel Sgader Graph
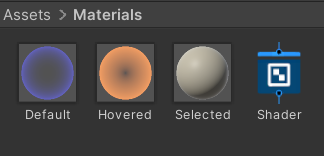
Main materials
I did not plan any additional options for colours, however, later in the project I discovered that a user’s experience can depend on many factors such as the lighting in the room, the background and even the user’s specifics of colour perception. Therefore, as the major idea was to make the project inclusive, I decided to add an option for choosing the basic colour of the bones to make their visibility better.
Example of colour perseption issue
I wrote a script and set it to be triggered by one of the buttons on the controllers (a key on the keyboard for the PC version). The current range of colours is limited to the preset list that I have created, however, in the future this list can be extended, or another script can be written to allow users to choose colours manually and control their intensity.
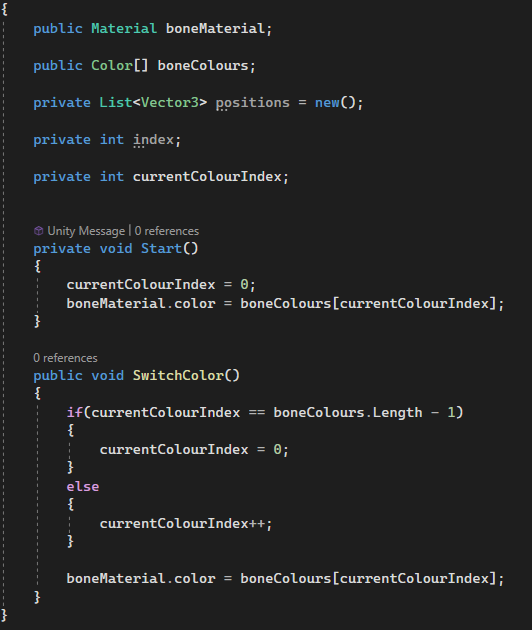
Colour changing script for VR
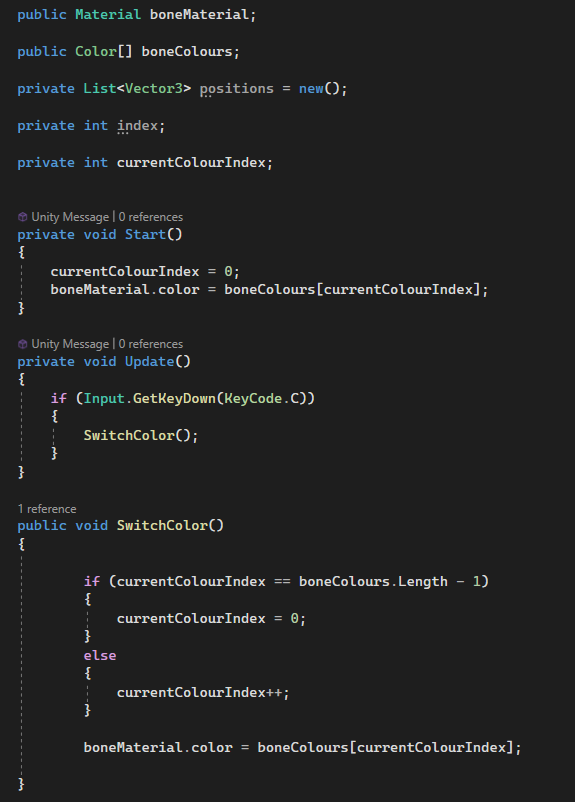
Colour changing script for PC
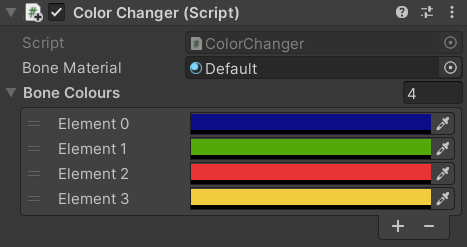
List of available colours
VR colour change script trigger settings
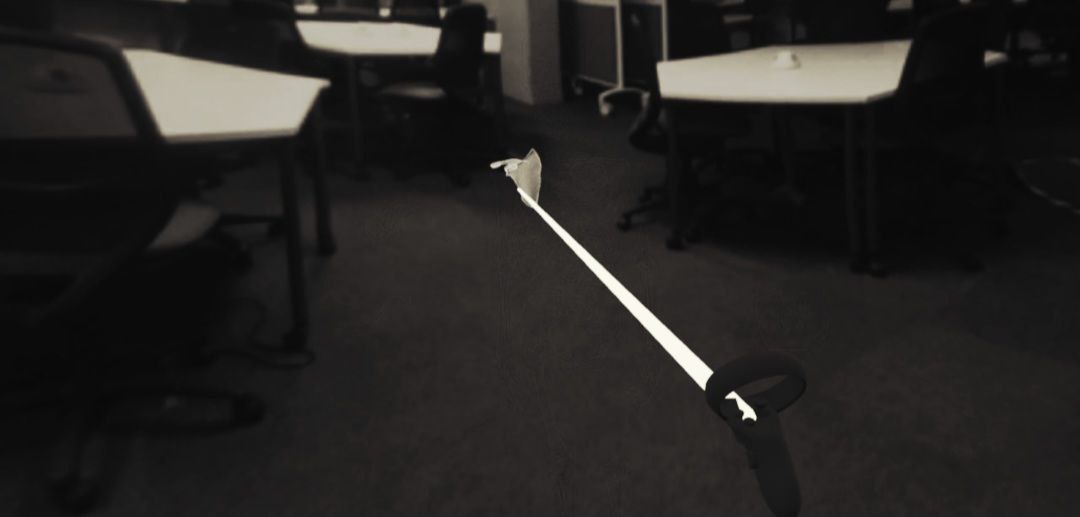
Changing colour in VR
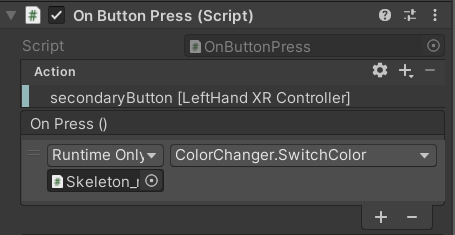
Additionally, I had to write a script for VR to let bones return to their original position and keep their original rotation after they were grabbed and moved by a user. Therefore, this script was set to be triggered by another button on the controllers to enable the user to move multiple bones to new positions and then gather the entire skeleton back together at a time.

Reset position script
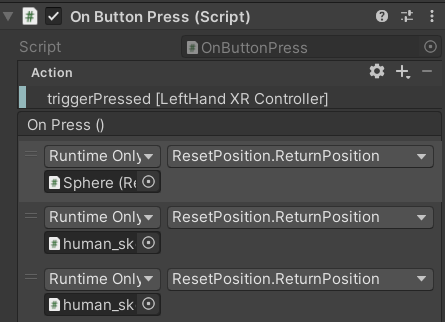
Reset position script trigger settings
Resetting bone position
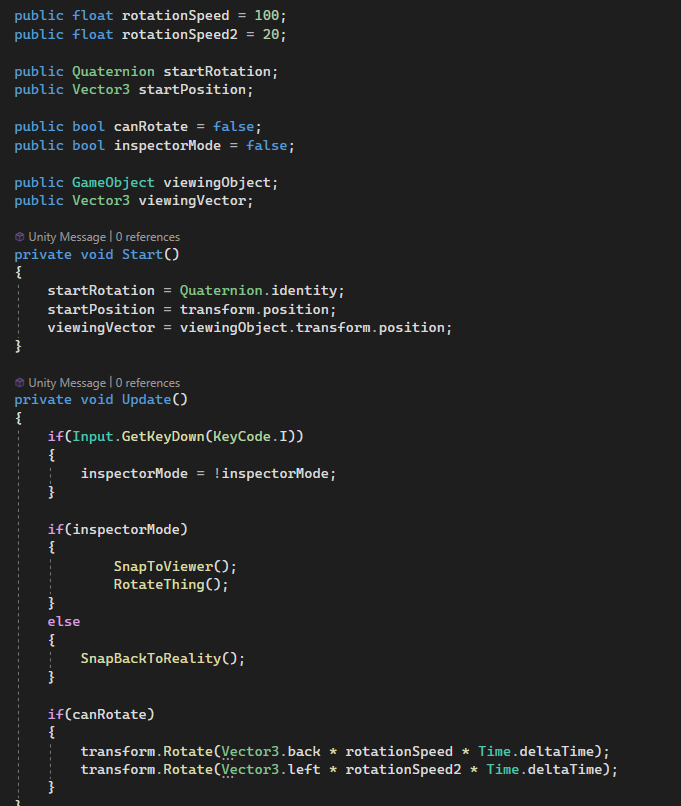
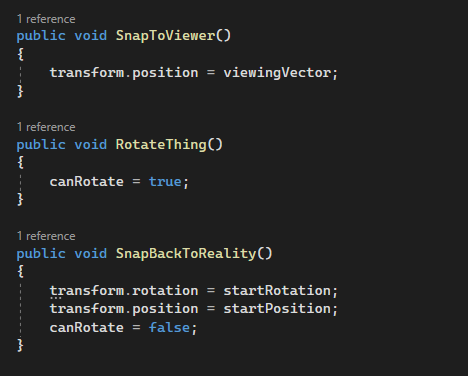
However, this script was not used for the PC version as the code was embedded into a different script. To fake grabbing for PC the inspector mode was created. Once it is activated by pressing the “I” key, the selected object snaps to the viewing area (which is represented by an empty object positioned close to the camera) and rotates automatically (in the old script) or lets the user rotate the object in any direction (in the new script). After deactivating the inspector mode by repeating the “I” key press the object returns to the original position and rotation.
Old inspector mode script part 1
Old inspector mode script part 2
Old inspector mode
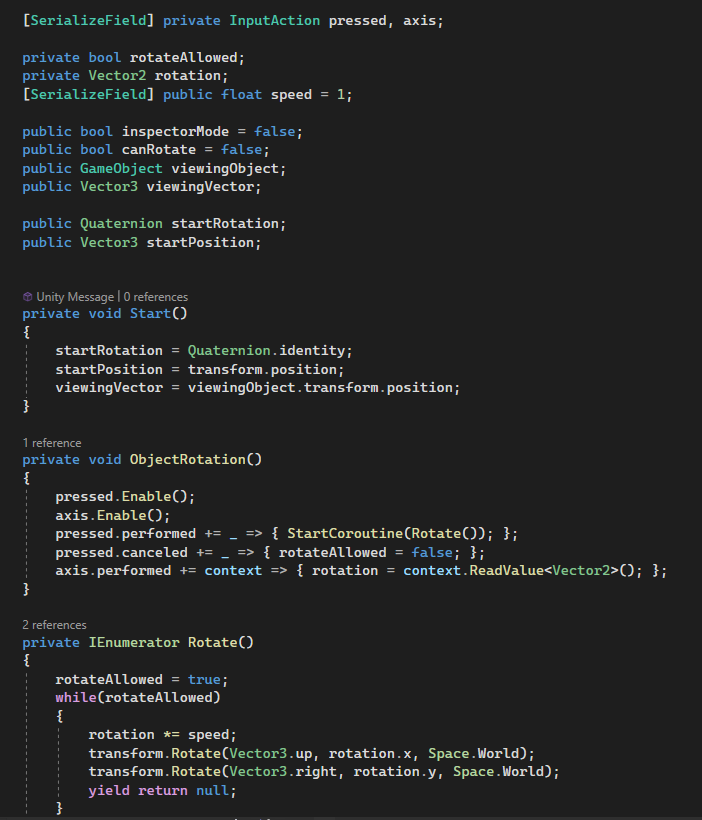
New inspector mode script part 1
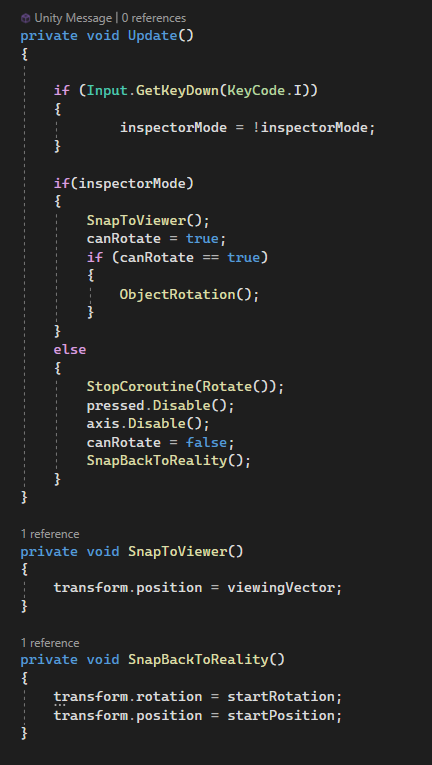
New inspector mode script part 2
Additionally, a script for moving bones was created to let a user simulate the movement of “grabbed” objects.
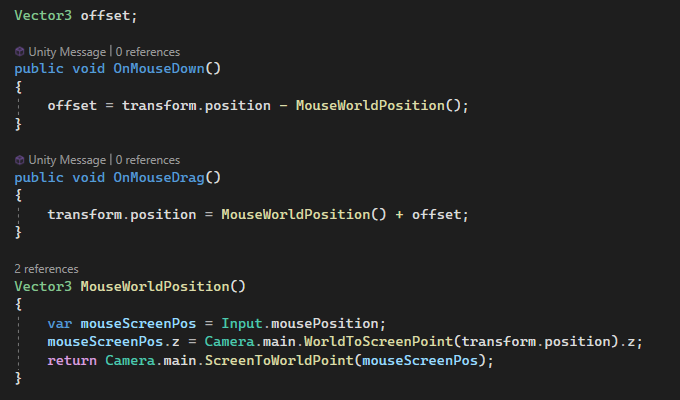
Movement script
Highlighting and selection code part 1
Higlighting and selection code part 2
Rib and its low poly model
Low poly model used as mesh collider
Bone selection
XR system set up
Unity settings
Movement and rotation components
Rotation and movement
XR Grab Interactable component
Selection and highlighting settings
Rigidbody and collider components
Highlighting, selecting, and grabbing objects
Fresnel Sgader Graph
Main materials
Example of colour perseption issue
Colour changing script for VR
Colour changing script for PC
List of available colours
VR colour change script trigger settings
Changing colour in VR
Reset position script
Reset position script trigger settings
Resetting bone position
Old inspector mode script part 1
Old inspector mode script part 2
Old inspector mode
New inspector mode script part 1
New inspector mode script part 2
Movement script
Future Plans
Although the prototype has basic functionality there are still some things to be improved. In the VR version, the size of the bone and the user should be adjusted better, and the area of movement should be restricted. For the demonstrational PC version, I need to make all scripts work together without breaking. Also, I plan to develop a hand menu and on-screen menu system to provide users with information about bones and let them manually choose the displayed languages for bone names (English, Latin, Ukrainian) and colours for bones. With further development, menus could be updated with a bone name search option and a section with educational videos.
Reference List:
- https://learn.unity.com/course/create-with-vr?uv=2020.3
- https://www.youtube.com/watch?v=RmGgtBjQCIo
- https://www.youtube.com/watch?v=oZie8X_2aAU
- https://www.youtube.com/watch?v=UyGSOju9aWw&t=423s
- https://www.youtube.com/watch?v=A0Kd6lnBNRE

