General Info
Project type: Collaborative Client project
Project duration: 13 weeks
Client’s name: Rob Blofield
Client project’s name and type: “Tomebound”, action/adventure video game
Game presentation: single-player, dual-character, grid-based puzzle game
Game art style: Low Poly 3D, stylized, fantasy, top-down dungeon
Game engine and coding language: Unity 3D, C#
Game brief: The boss fight is done, and the credits have rolled. At the end of an arduous campaign to acquire the greatest magical tome ever made, two wizards retrieve an enchanted book from the top floor of the tallest tower, only to find it instantly curses them... One adventurer can only move forwards and backwards and the other from side to side. This is going to be a long walk back to the inn
Major game objective: creation opening cinematic for “Tomebound”
Number of Scenes in the opening cinematic: 4
Personal task: development of the blockout for Scene 1 and Scene 2
Sustainable Development Goal (SDG) relation: SDG 8 (Decent work and economic growth)
Introduction
This academic year, it was the second module oriented on working on client projects. Module aims included teamwork and effective communication, as well as problem-solving and decision-making in terms of performance on the individual tasks within the project. Additionally, it aimed to boost creativity and research skills and encourage to build a deeper understanding of the client’s business, which would help promote the project more effectively, correctly translate the client’s values, and secure sustainable project development according to SDG 8. Also, this could help meet all the requirements for work and quickly adapt to the client’s needs and feedback.
Initially, I started working on this client project last semester. My task was to develop one of the main characters concept art and create a 3d model. As I liked the project very much, I decided to continue working on it this semester as well. However, this time my role was a 3D animator, so I had to communicate with the client and the team to develop a storyboard and then create blockout for the chosen scenes.
Research Stage 1
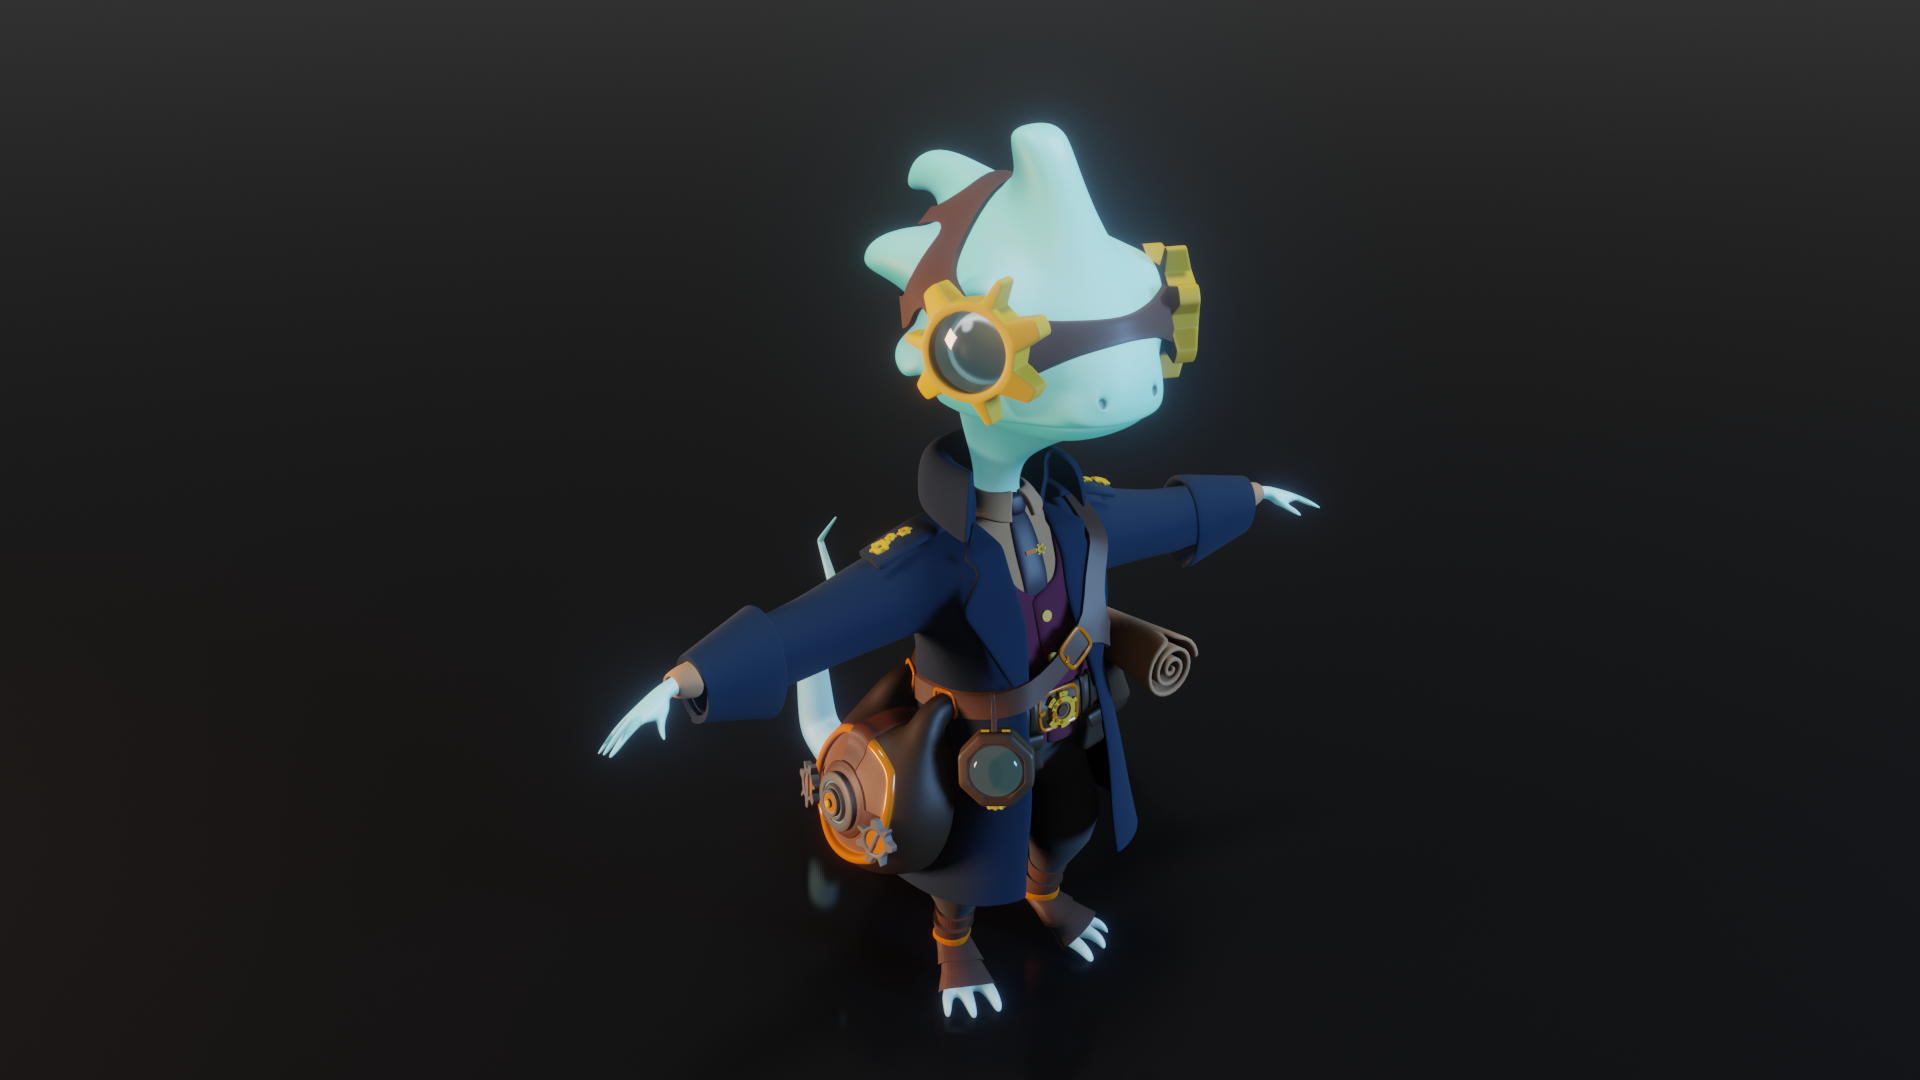
As my pathway is game design and I wasn’t taught animation I had to spend some time researching a practicing before attempting to build blockouts. Previously I had some experience animating short videos. Before the start of this academic year, I took a Udemy course where Blender basics were taught alongside some short and fairly simple animations. Learning navigation and general Blender’s UI took me a bit longer than a month. However, it was super helpful as even that level of skills turned out to be extremely useful when I chose to work on the Artificer Wizard, as I didn’t have to start learning from scratch. Plus, I managed to create two nice short animations.
My first animation created as part of Udemy course
My second animation made as part of the Udemy course
The creation of those animations helped me understand two important things: I’m really curious about diving into animation and I feel like I can try to learn some basic things on my own to successfully complete the task from the client. However, as I took a course quite a while ago, I had to go back to it and revise all the previously learned information to avoid time wastage because the keyframes weren’t added or edited properly or they had to be a different type. Plus, I had to work on understanding movement to make it smoother and have less troubles with adjusting of cameras or characters' speed.
Additionally, I spent some time learning how to add and edit music in Blender as I was given a music track to add to the Scene 2 blockout to make the editing easier. Plus, I learned how to record videos with Snipping Tool and edit them in Clipchamp.
My first animation created as part of Udemy course
My second animation made as part of the Udemy course
Scene 2 Blockout Development
As my other teammates had other tasks to do, I got the opportunity to choose the scene I wanted to develop, so I decided to build Scene 2 and there were a couple of reasons why I did so. The first one was the availability of almost all the assets that I had to use for building a scene, and the second one was a clear understanding of what exact outcome I was expected to get.
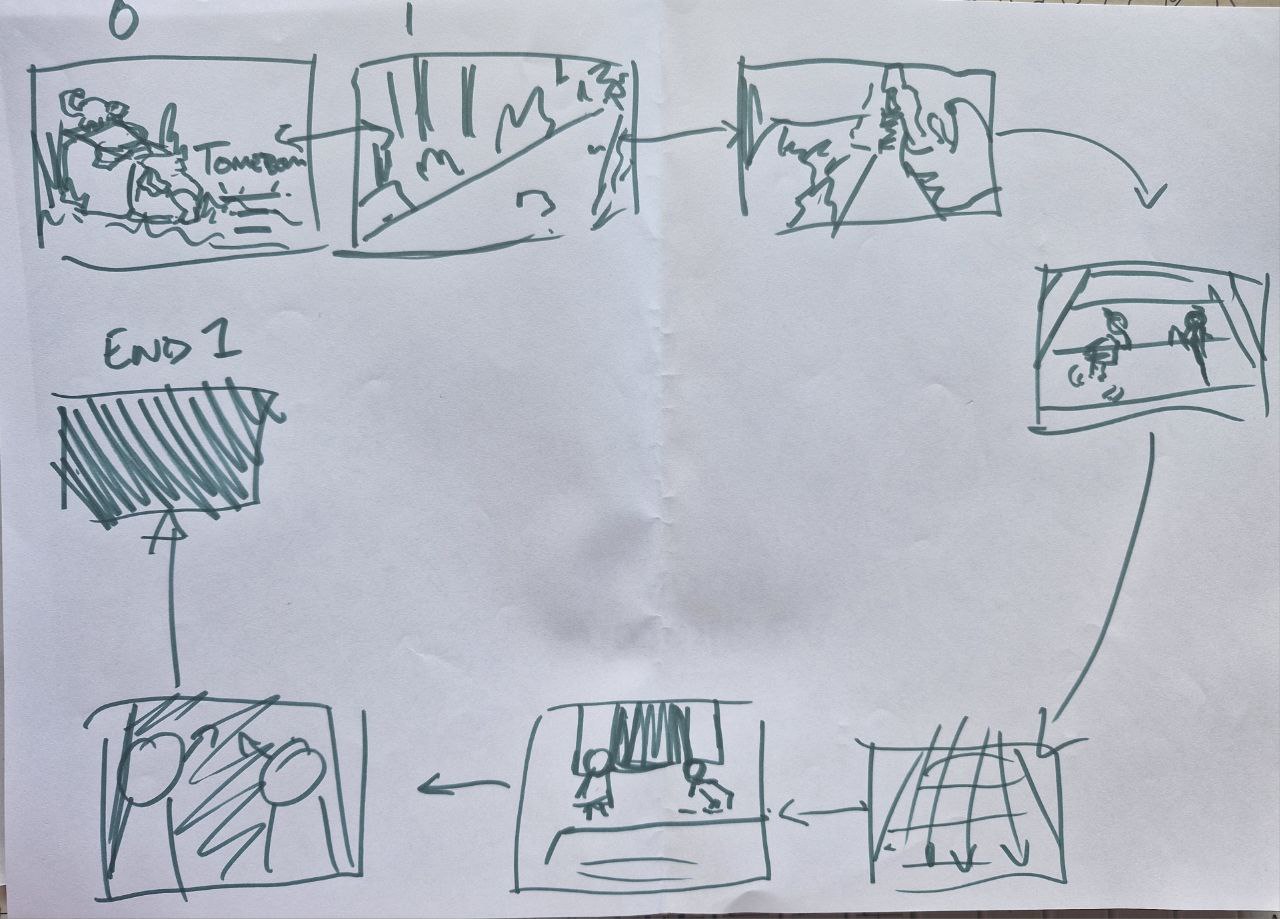
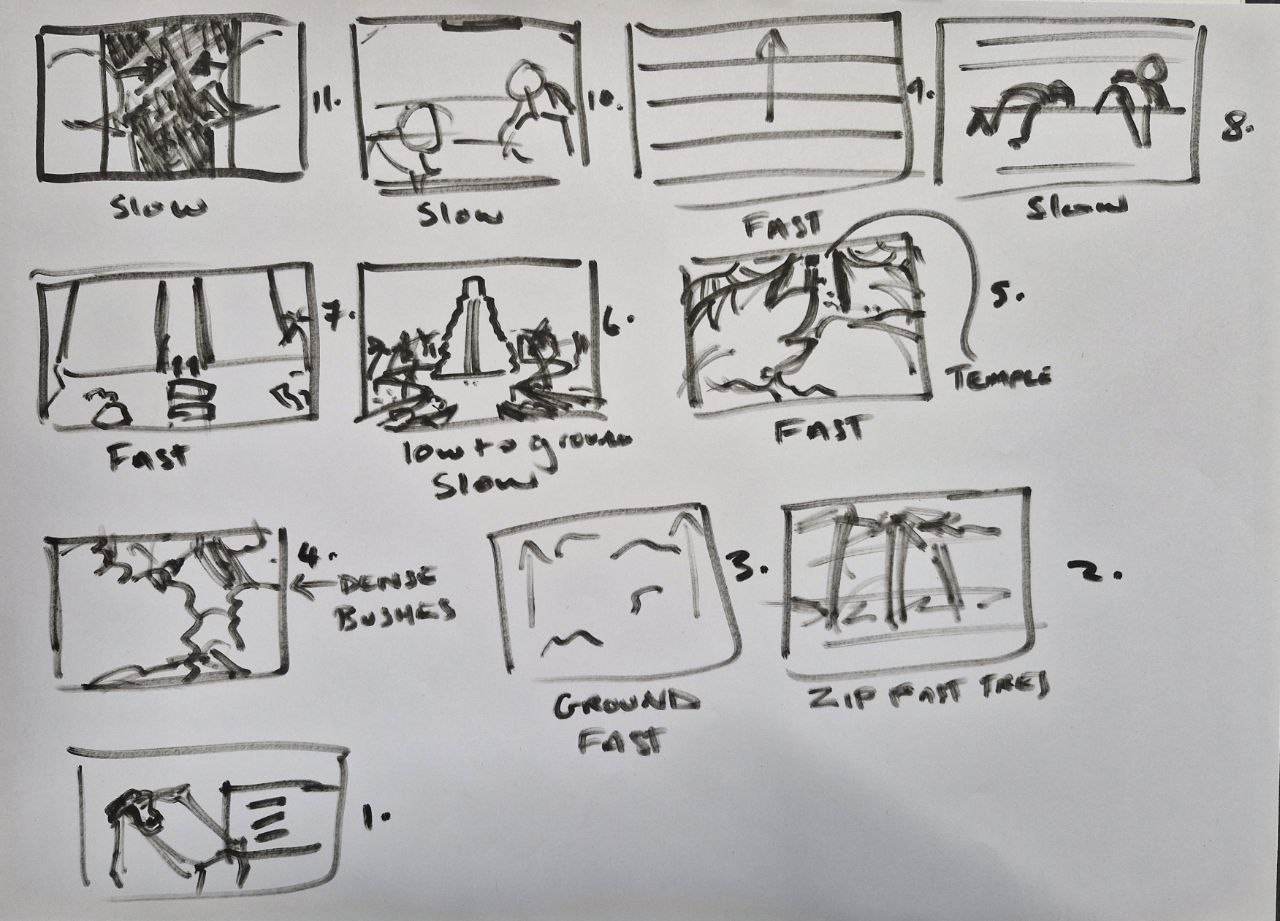
In the early stages of this project my team which consisted of Karin Nakane, Beatrice Tuia, and later Seth Bown, had to develop the storyboard according to the chosen style and general guidelines provided by the client. I encouraged the communication in the team as we had to come up with some creative ideas. Therefore, when the major shots for Scene 1 were discussed, I booked an appointment with the client to make sure that we were moving in the correct direction. However, I discovered that we weren’t doing it the correct way due to the lack of experience with storyboard development and basic principles of opening cinematic understanding. At that point, we clearly needed some assistance from the client, so we were provided with a quickly developed storyboard and some guidelines about the approach for the blockout creation. Additionally, later were informed of the expected duration of each scene to help us work out the speed, additionally, we were sent a document with a narrator’s phrases that would be played simultaneously with the animation.
All of that really helped to clarify further development direction, so after doing research and filling all the core knowledge gaps, I chose the scene I was the most comfortable to work on which was Scene 2.
The storyboard for it looked like this:
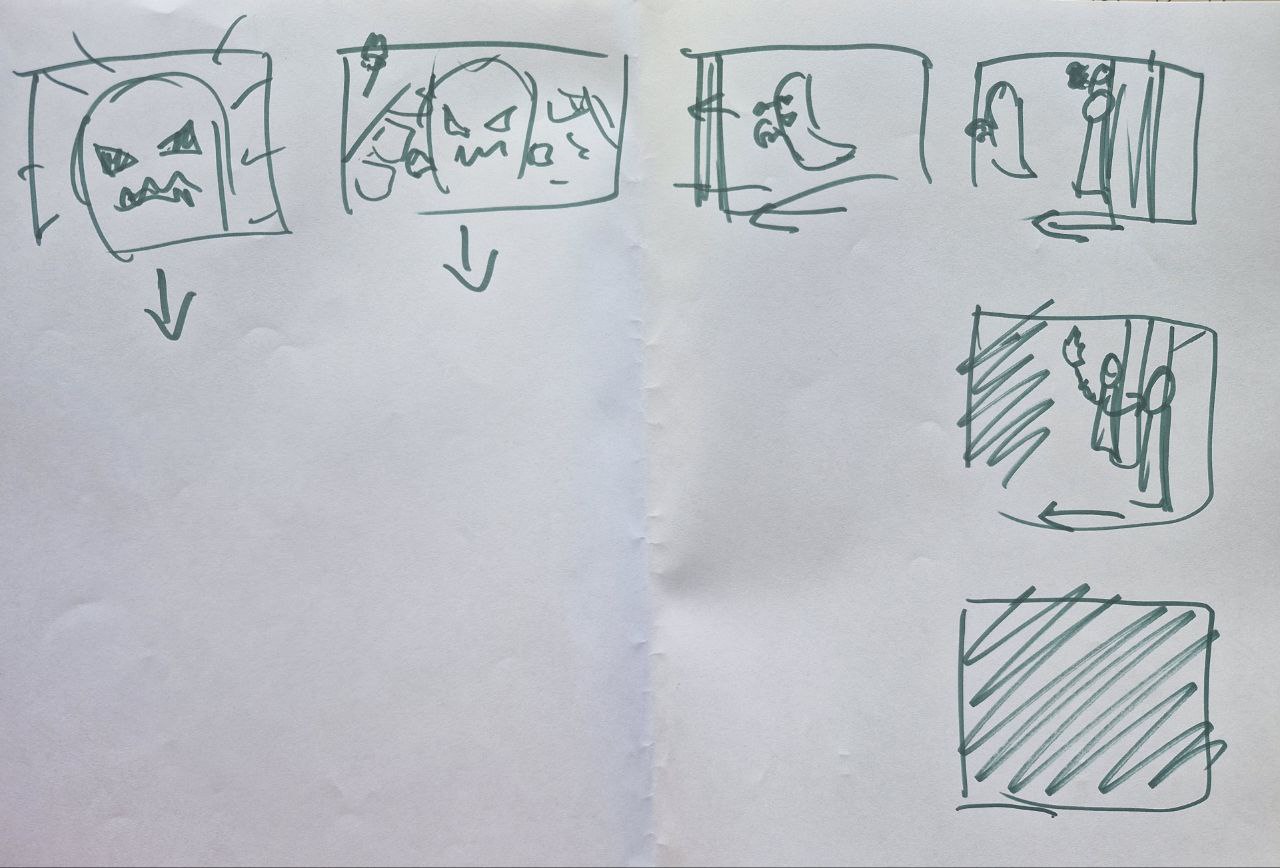
Storyboard for Scene 2
The first step was to find all the necessary assets for building the environment (one of the rooms in this case) and group them into categories for ease of usage. After a couple of attempts, I decided to stop on the following layout:
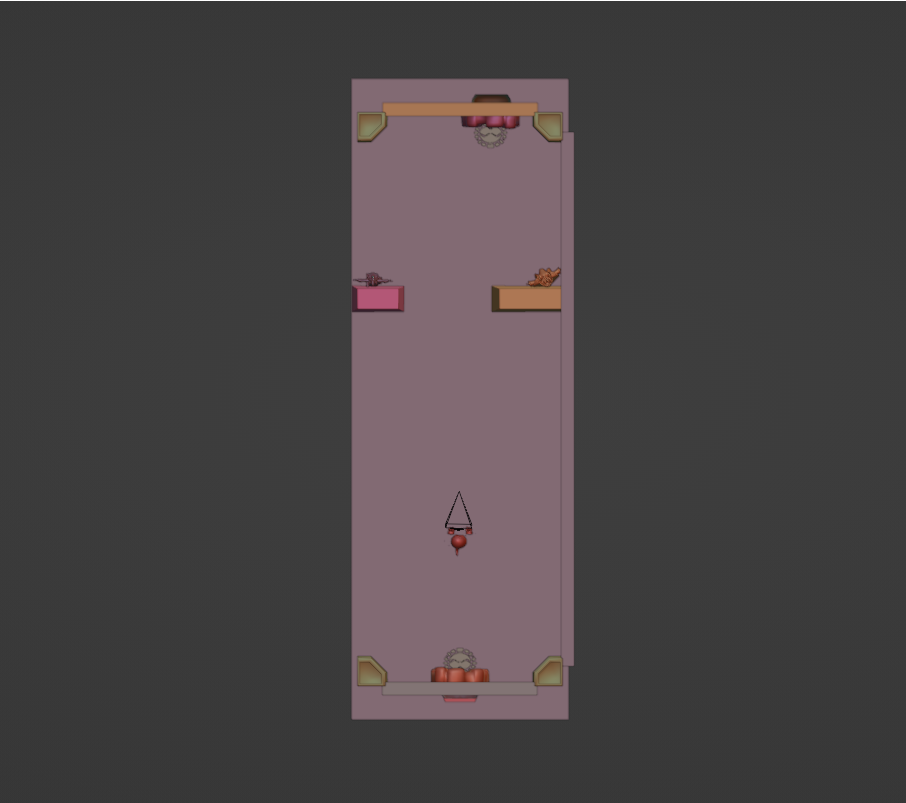
Room for Scene 2 side view
Room for Scene 2 side view
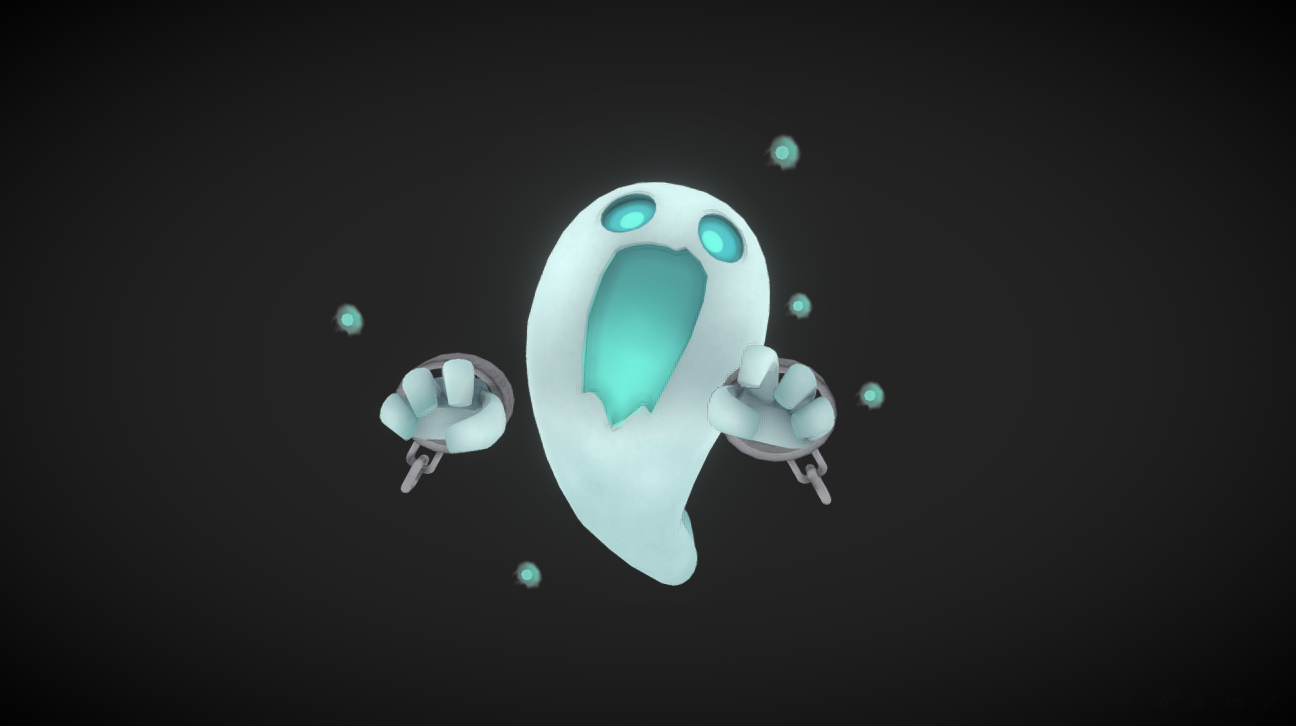
The next step was to get all the characters for the Scene. I already had Artificer Wizard and Druid Wizard, but I also needed to get a model for the ghost, as the “Tomebound” one was still in the process of creation. That’s why I went on Sketchfab and downloaded this amazing model which would later be replaced with the original one.
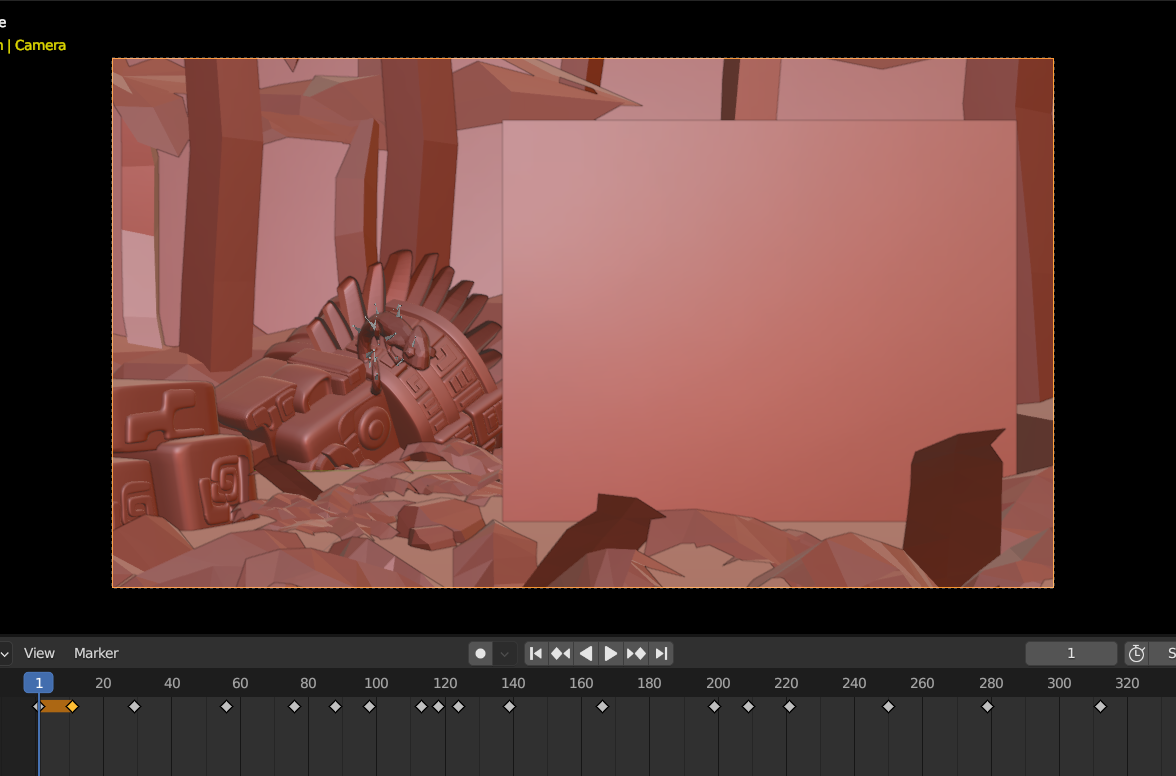
After the room and all the characters were in place, I started the animation process. The idea was to zoom out from the lava ghost and track it backward for a second after that to turn in the side view and, while tracking the ghost's movement, show the lizards hiding behind the pillars, and then follow them running away into the darkness. The first animation attempt ended up looking like this:
Scene 2, first animation attempt
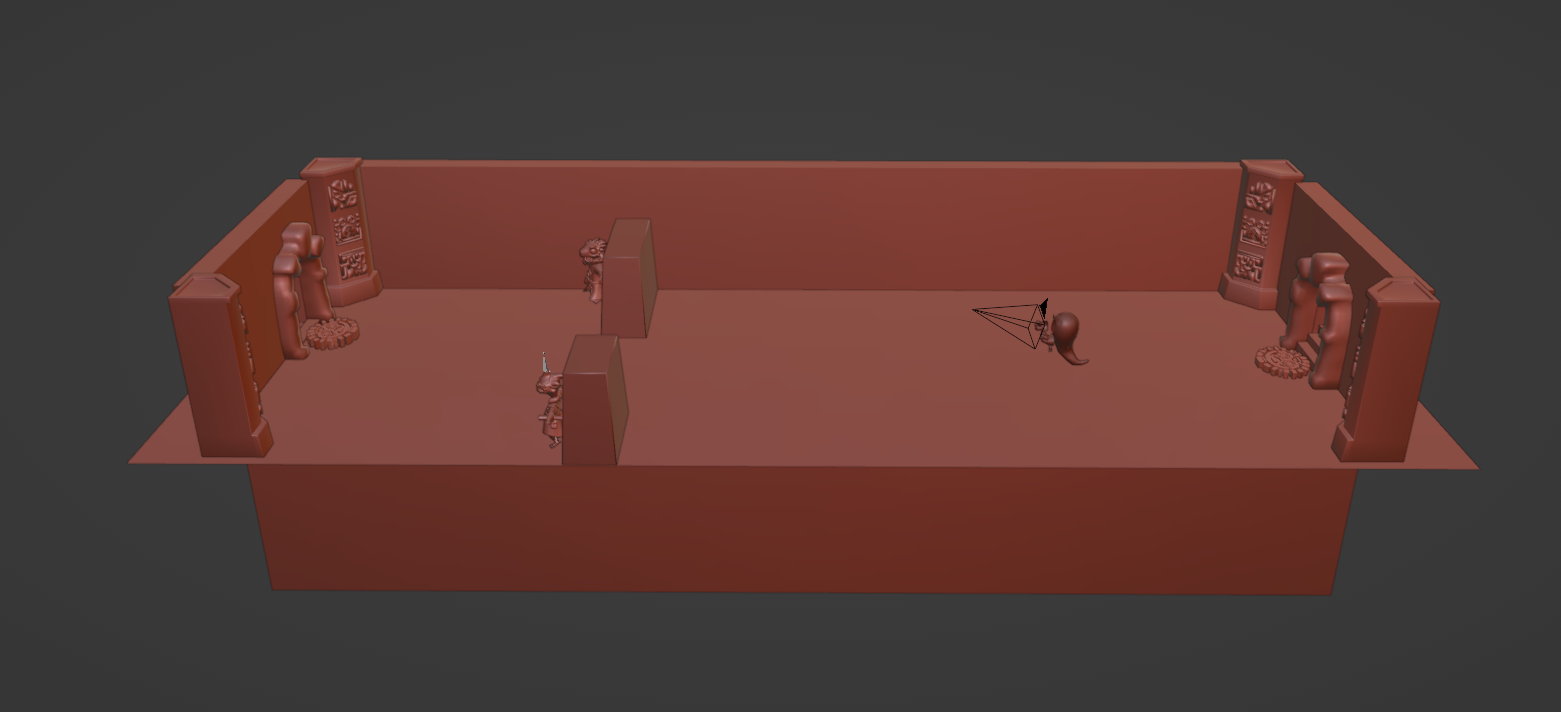
It was a good start, but I still had to make plenty of adjustments. The room was made longer and wider, some camera angles were changed for better ones, and the speed of the characters’ movement was also edited, as well as their positions. Additionally, the duration of the scene changed from 8 to 13 seconds.
Finished blockout of Scene 2
Storyboard for Scene 2
Room for Scene 2 side view
Room for Scene 2 side view
Scene 2, first animation attempt
Finished blockout of Scene 2
Scene 1 Blockout Development
After I finished Scene 2, I realized that I still had some time left until the end of the semester, so I decided to move further and develop the blockout of another scene. Since I didn’t have any specific preferences about the other scenes, I decided to follow the order and started to develop Scene 1. However, with this scene, things went much less smoothly.
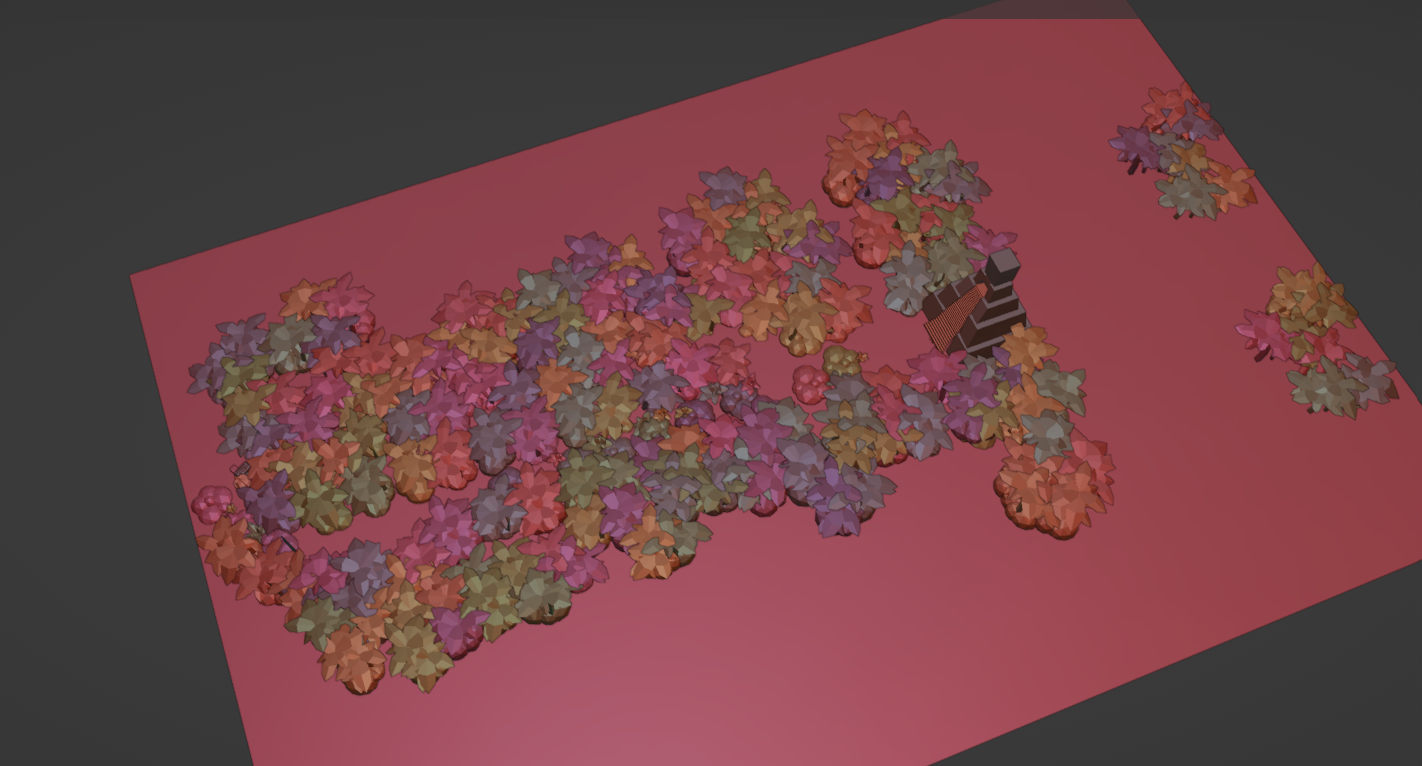
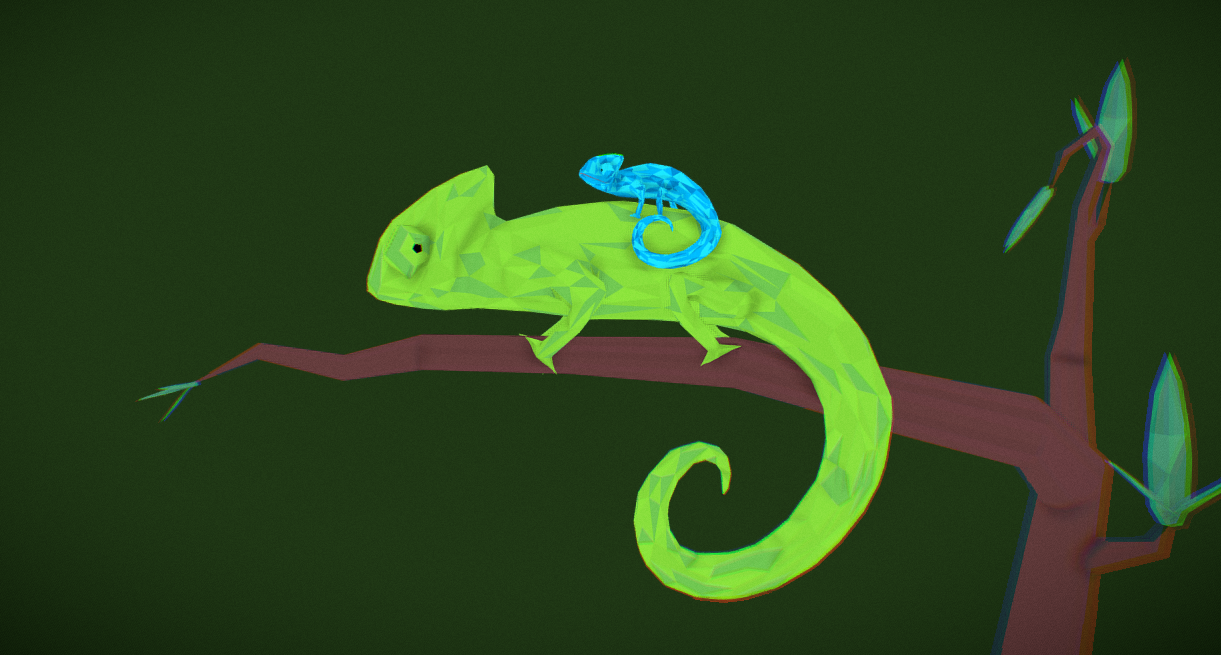
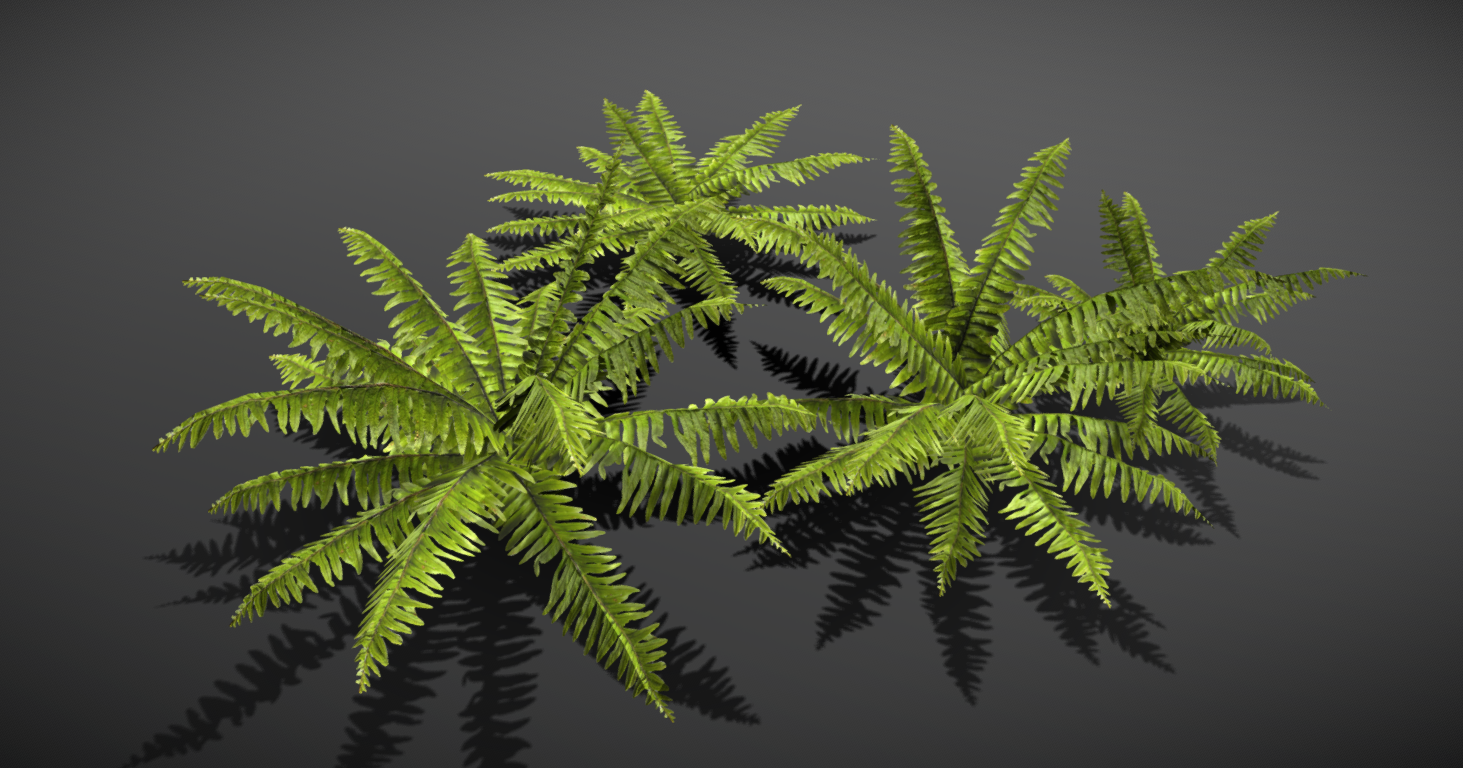
The first challenge was to build the blockout. The difficulty was in the absence of ready assets, so the preparation time was significantly higher. As Scene 1 is set in a dense jungle that hides a mysterious temple, I had to define how many things I needed to create myself, how many assets I could find on Sketchfab, and what was the general number of assets I needed to request from the other team. The list included palm trees, rocks, some plants, a chameleon, and a temple. I managed to find a free chameleon on Scatchfab, as well as some tropical plants.
There were plenty of palm tree sets there as well, but none of them were free, so I had to create a quick palm tree blockout and some rocks, too.
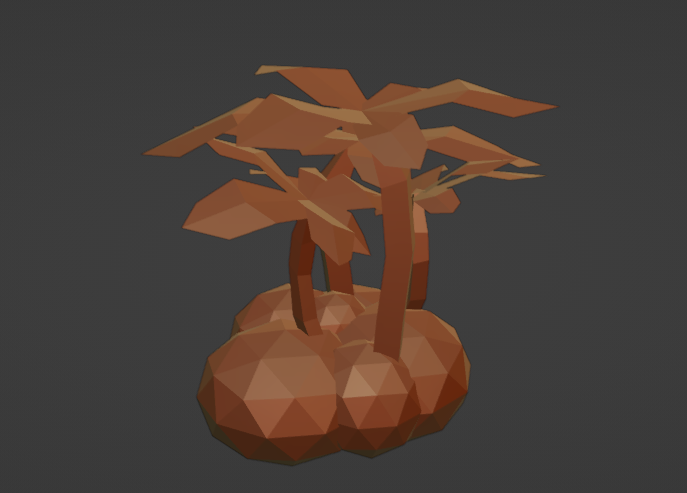
Palm trees and bushes blockout
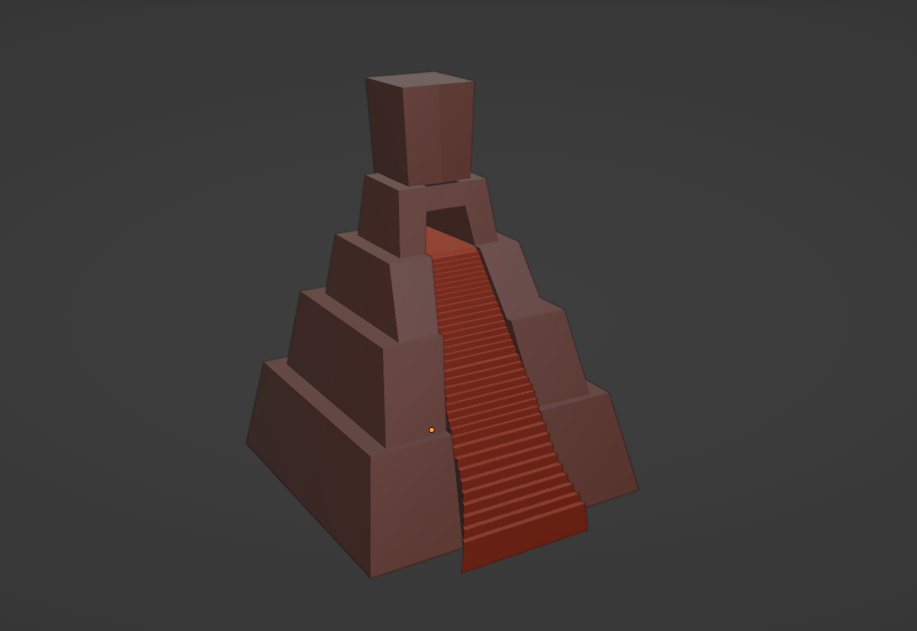
After that, I created a blockout for the temple using the picture provided by the client. There were many more issues with it mostly because of the stairs, so I had to change the approach to their creation later. And a little later I had to edit them again.
First temple blockout
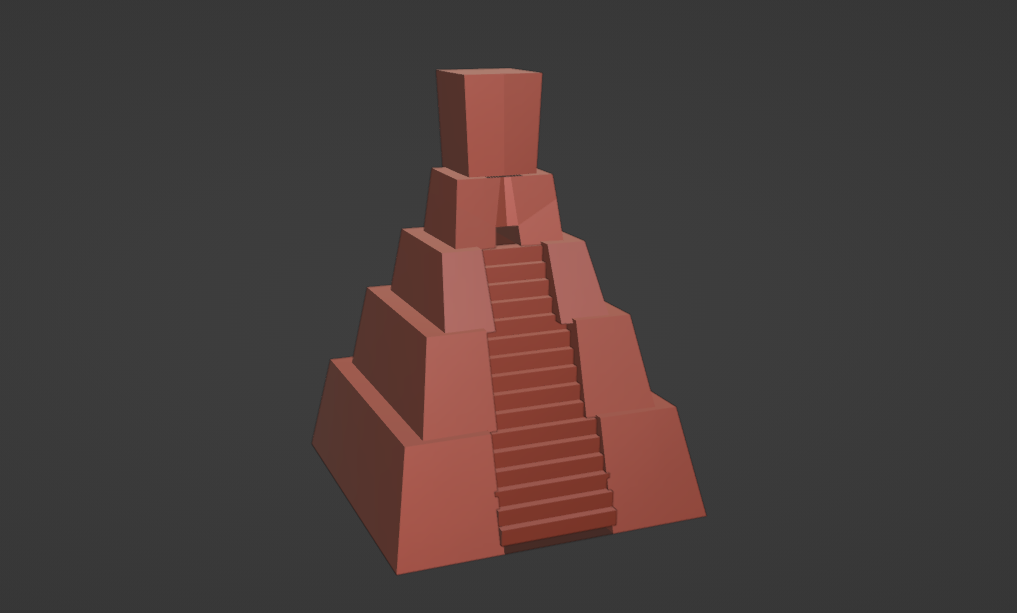
Temple blockout with new stairs
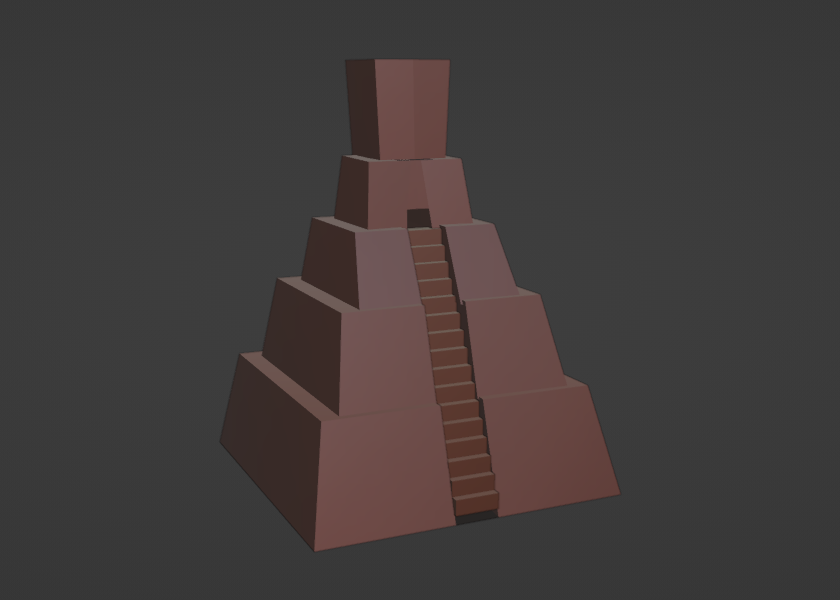
Final temple blockout
After all the necessary assets were created and found, I started laying them out in a scene nicely trying to follow the storyboard for Scene 1:
Firtst storyboard of Scene 1
Old layout of Scene 1 blockout
First attempt to animate Scene 1
However, later I figured out that I had a major scaling issue, so I decided that it would be much easier to build a new scene rather than edit the existing one. Therefore, after some feedback and new guidelines, I opened a new file and built a scene from scratch using a completely different approach. It took plenty of time, but the result looked much better than before.
New storyboard of Scene 1
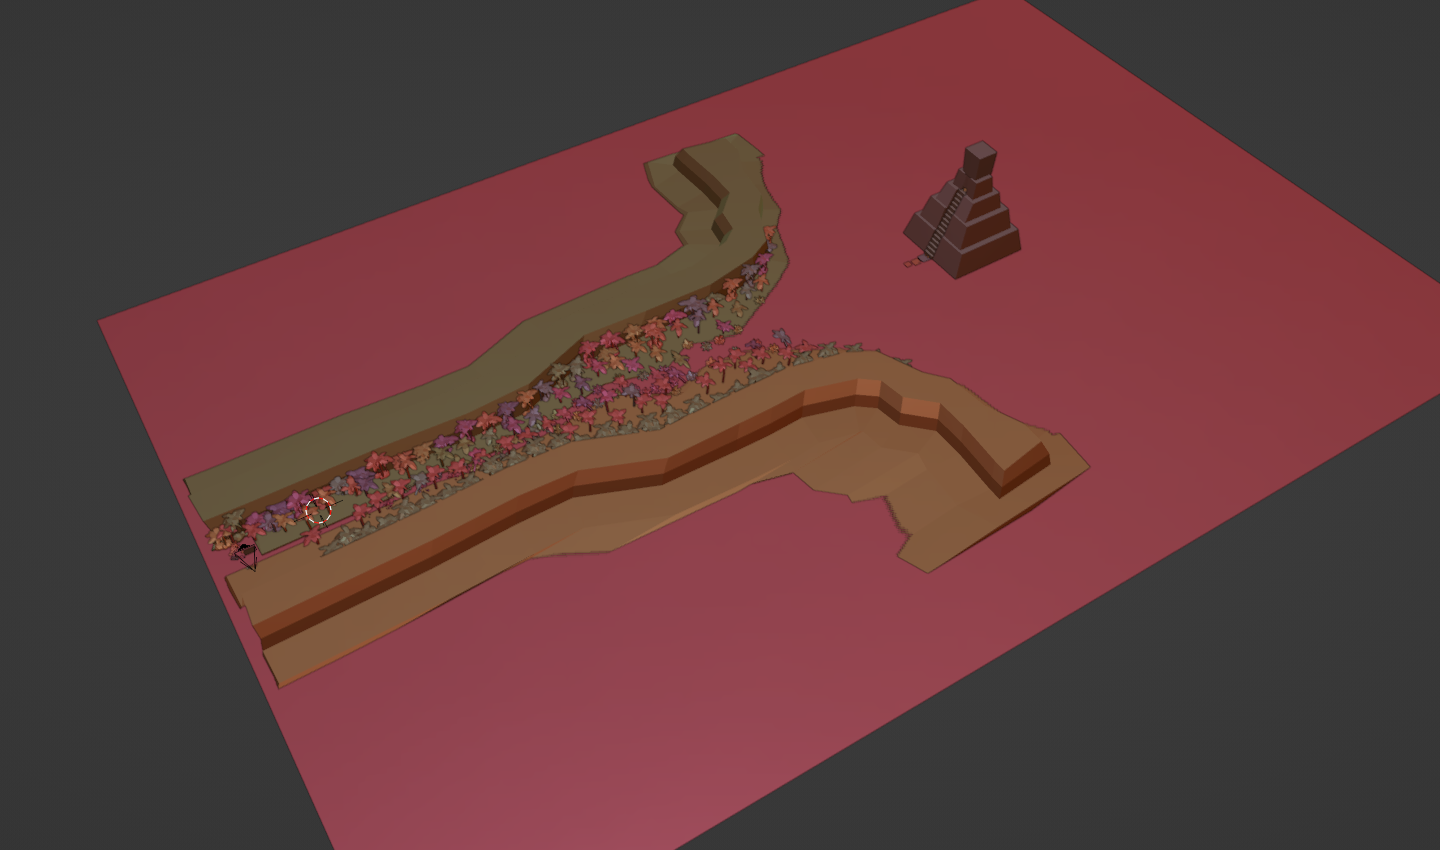
New Scene 1 layout
Second attempt to animate Scene 1
And after some minor adjustments, I finally finished making the blockout for Scene 1. Initially, the video was supposed to last for 8 seconds but later it was extended to 14 seconds. Both scenes together came up to 27 seconds which is a bigger half of the “Tomebound” opening cinematic.
Final blockout of Scene 1
Blockout of Scenes 1 and 2 together
Palm trees and bushes blockout
First temple blockout
Temple blockout with new stairs
Final temple blockout
Firtst storyboard of Scene 1
Old layout of Scene 1 blockout
First attempt to animate Scene 1
New storyboard of Scene 1
New Scene 1 layout
Second attempt to animate Scene 1
Final blockout of Scene 1
Blockout of Scenes 1 and 2 together
Research Stage 2
Later in the project, I realized that I would need to gain some additional knowledge about 3d animation. For instance, I needed to learn how to animate characters’ poses and how to run animations in Unity. These things were not on my priority research list, as I had to focus on more basic things before, but, as all four scenes for the opening cinematics were completed, I realized that my current skills would not be enough for future animation development. So, as I decided to develop the project further, I went to browse YouTube tutorials looking for rigging, weight painting, and more advanced character animation.
Full blockout of the "Tomebound" opening cinematic
Full blockout of the "Tomebound" opening cinematic
SDG 8 Relation
As this was my second semester working on the project, I already knew the initial idea of the game, its general development vectors, and preferred outcomes. From my perspective, I did my best to ensure the project’s progress and success according to SDG 8. Additionally, as part of the Social Media Campaign, I tried to follow SDG 17 (Partnerships for goals) to make useful connections on my social media with people who have expertise in animation and can share some tips or advice for beginners. Plus, I presented my work for the Collaborative Client Project on the Transmedia 24 End of Year Show, and I used all the opportunities to promote the game as a whole and my input to it hoping that might get a placement offer. Unfortunately, I didn’t get any offers, but I was happy to learn that someone from the University of Winchester Social Media Department (as far as I’m concerned) got interested in the game.
Further Plans
As was mentioned previously, I plan to continue working on the project. The exact steps haven’t been discussed with the client yet, however, I would like to continue working on the animation. Since all the blockouts are already finished and accepted, I assume the next step would be to replace all the placeholders with the ready assets and develop the characters’ animation. After that, all the lighting would need to be set up and the scenes rendered and polished so that there would be a recording of the entire opening cinematics. However, the animation could be taken even further, as the client initially wanted it to be played live in Unity. If the approach hasn’t changed yet, I would need to build the scenes in Unity and export all the animations to it, and after that, I would need to work very closely with the game developers on the team to make the animation work.
However, this plan might change depending on the client’s needs.
Reference List:
- https://sdgs.un.org/goals/goal8
- https://sdgs.un.org/goals/goal17
- https://www.youtube.com/watch?v=txS-qHPB-b0
- https://www.youtube.com/watch?v=DDeB4tDVCGY
- https://www.udemy.com/course/blender3dcharacteranimation/?couponCode=LEADERSALE24A

